 Image 1 of 23
 Image 2 of 23
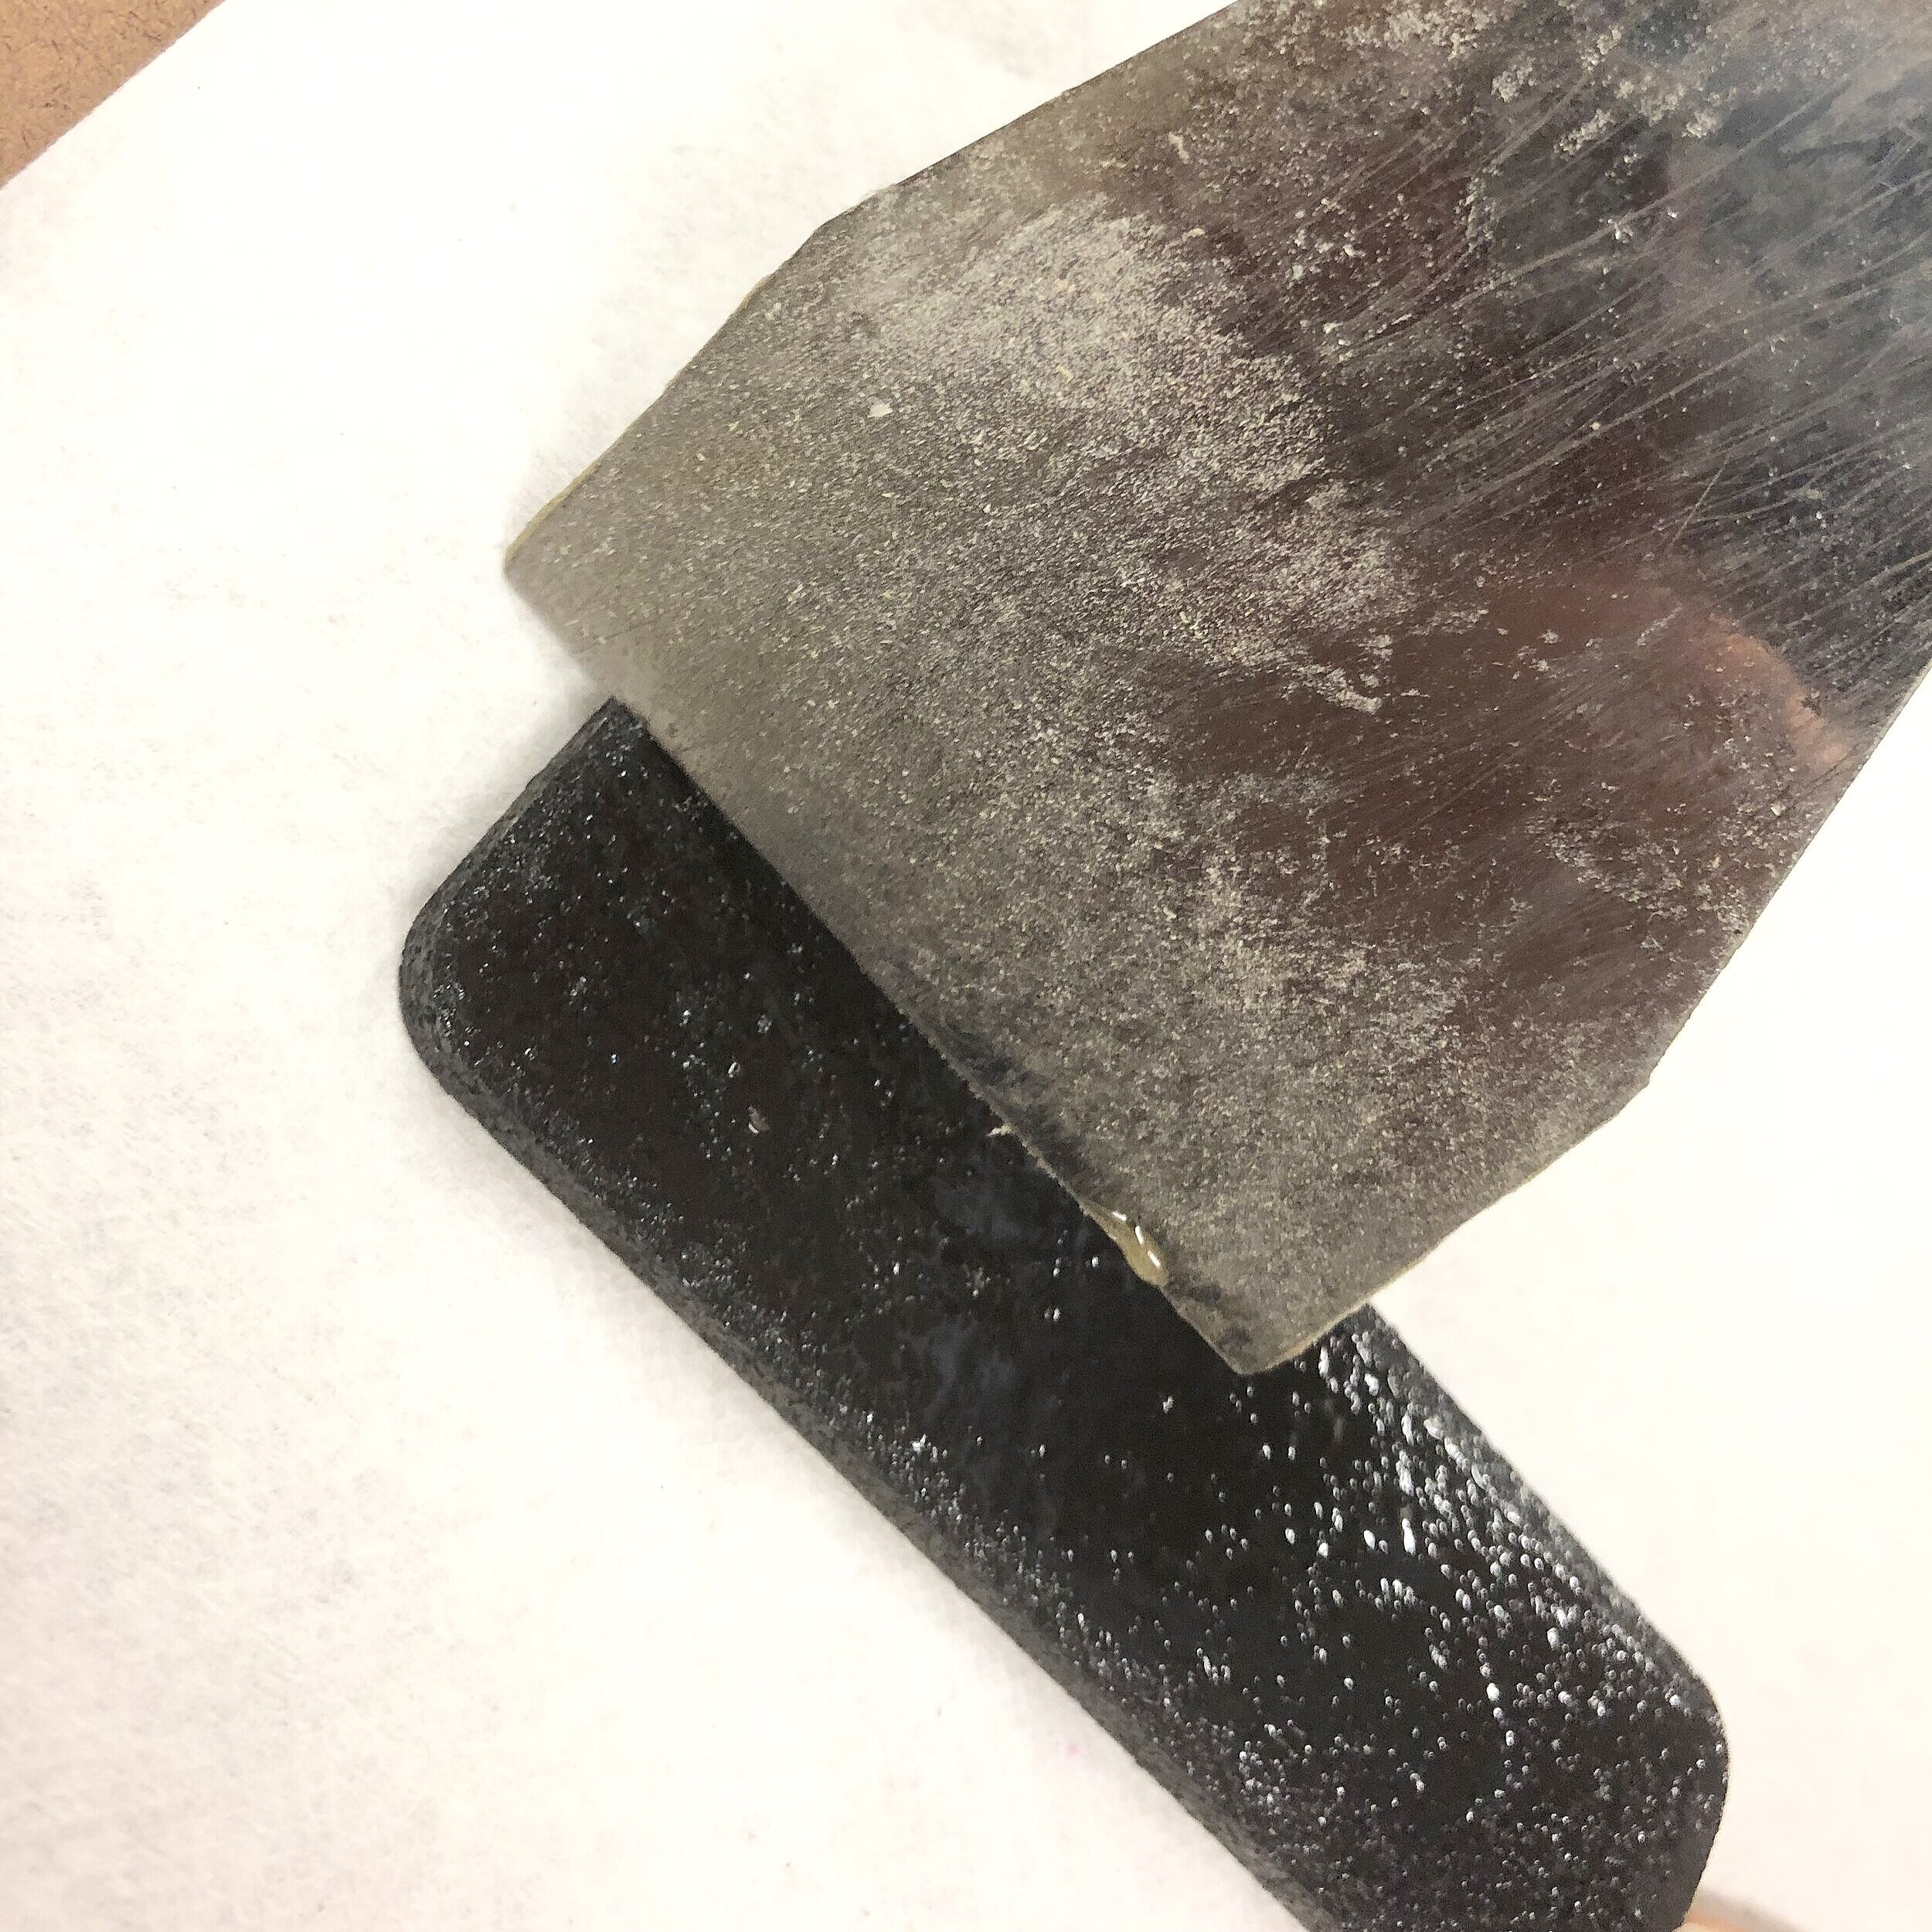 Image 3 of 23
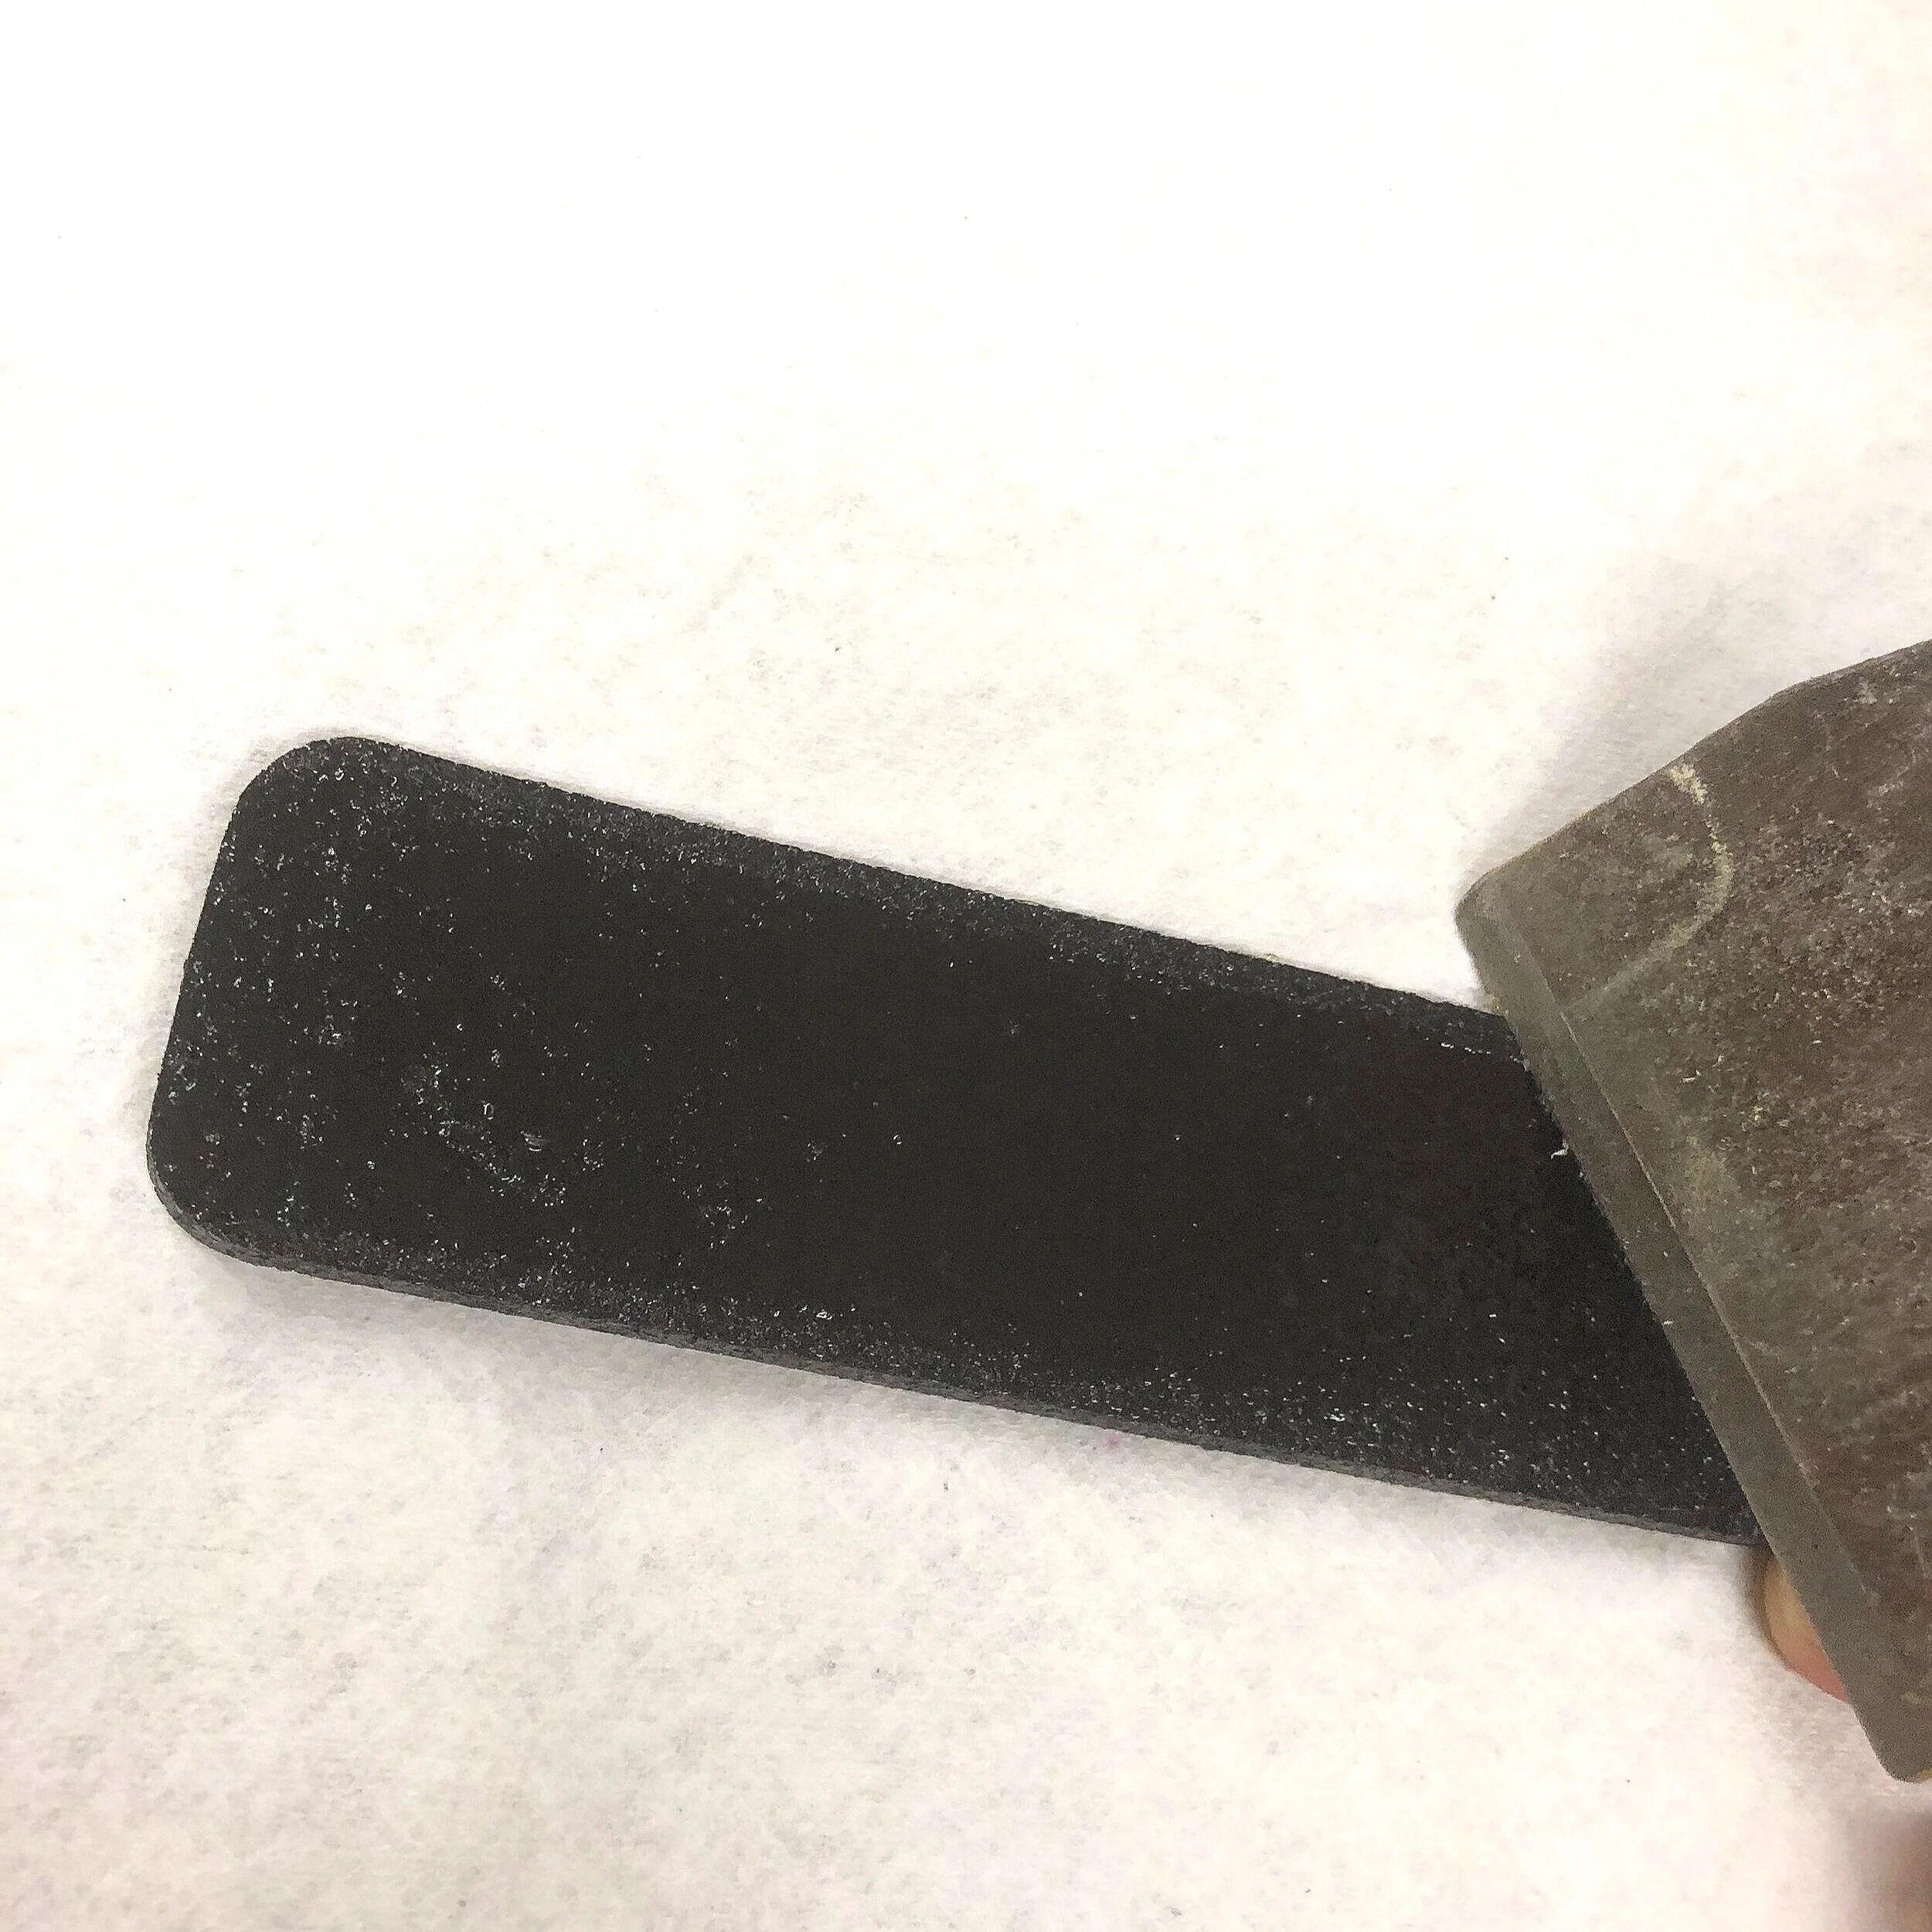 Image 4 of 23
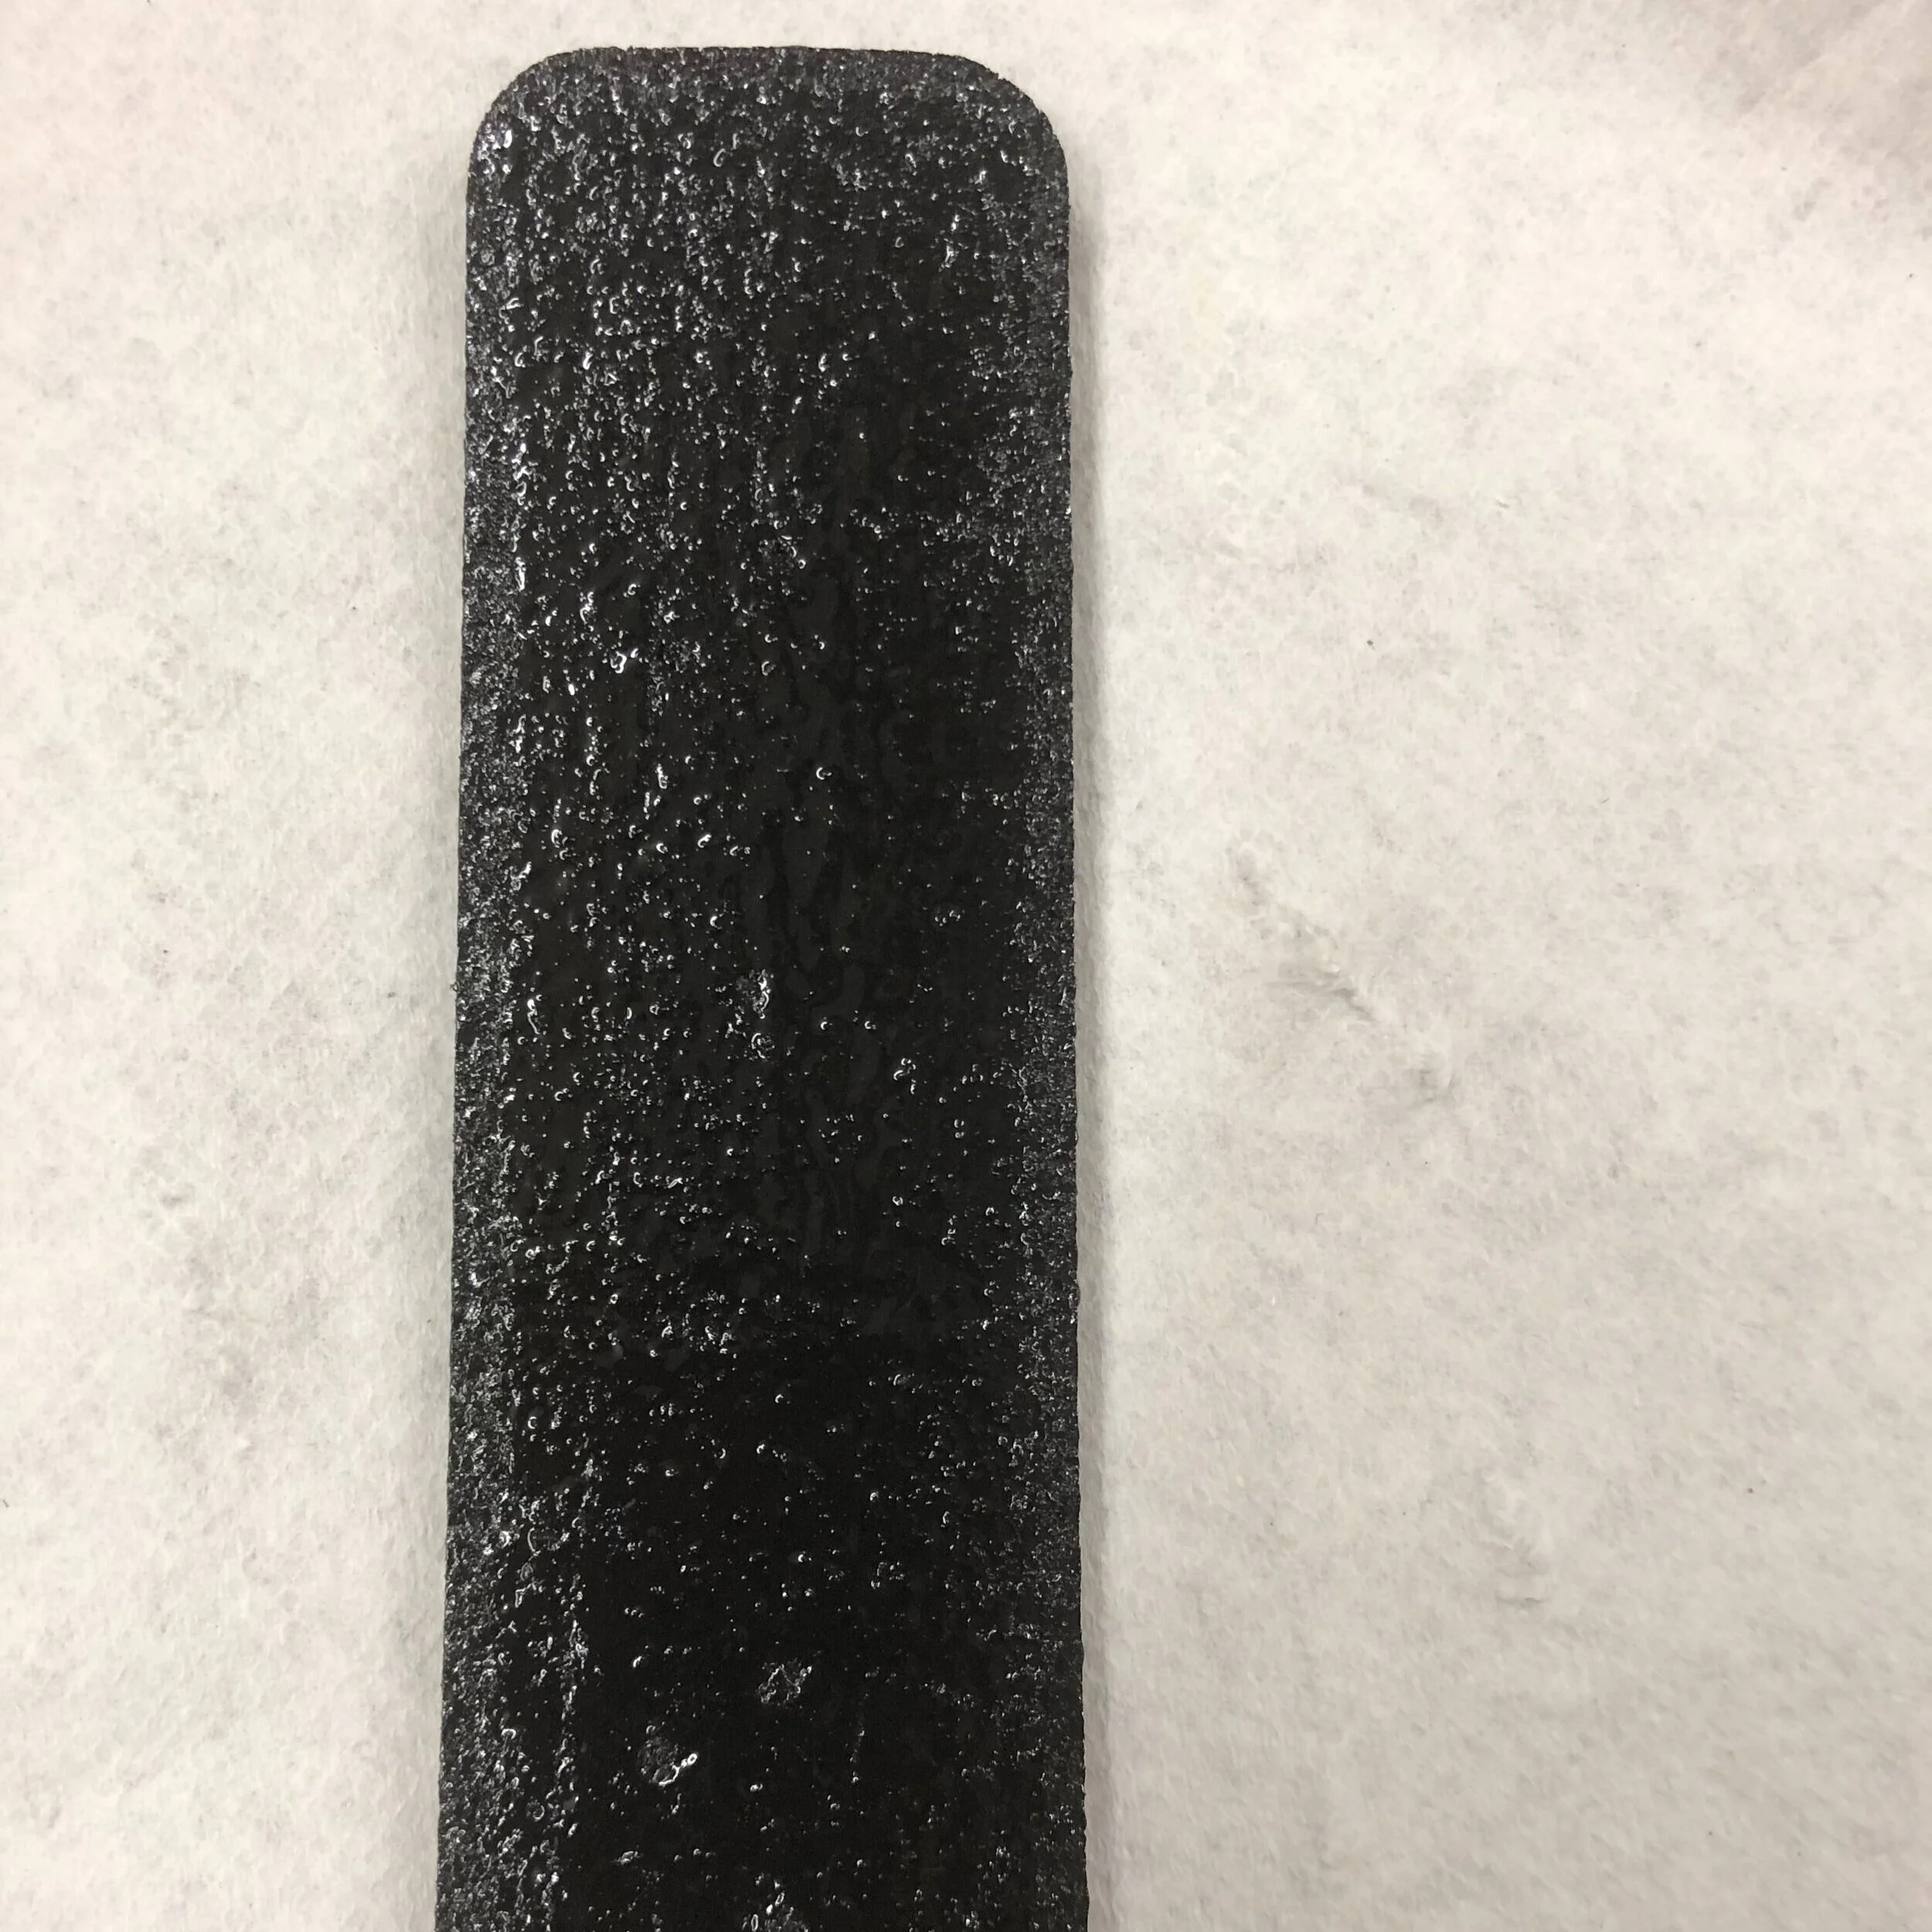 Image 5 of 23
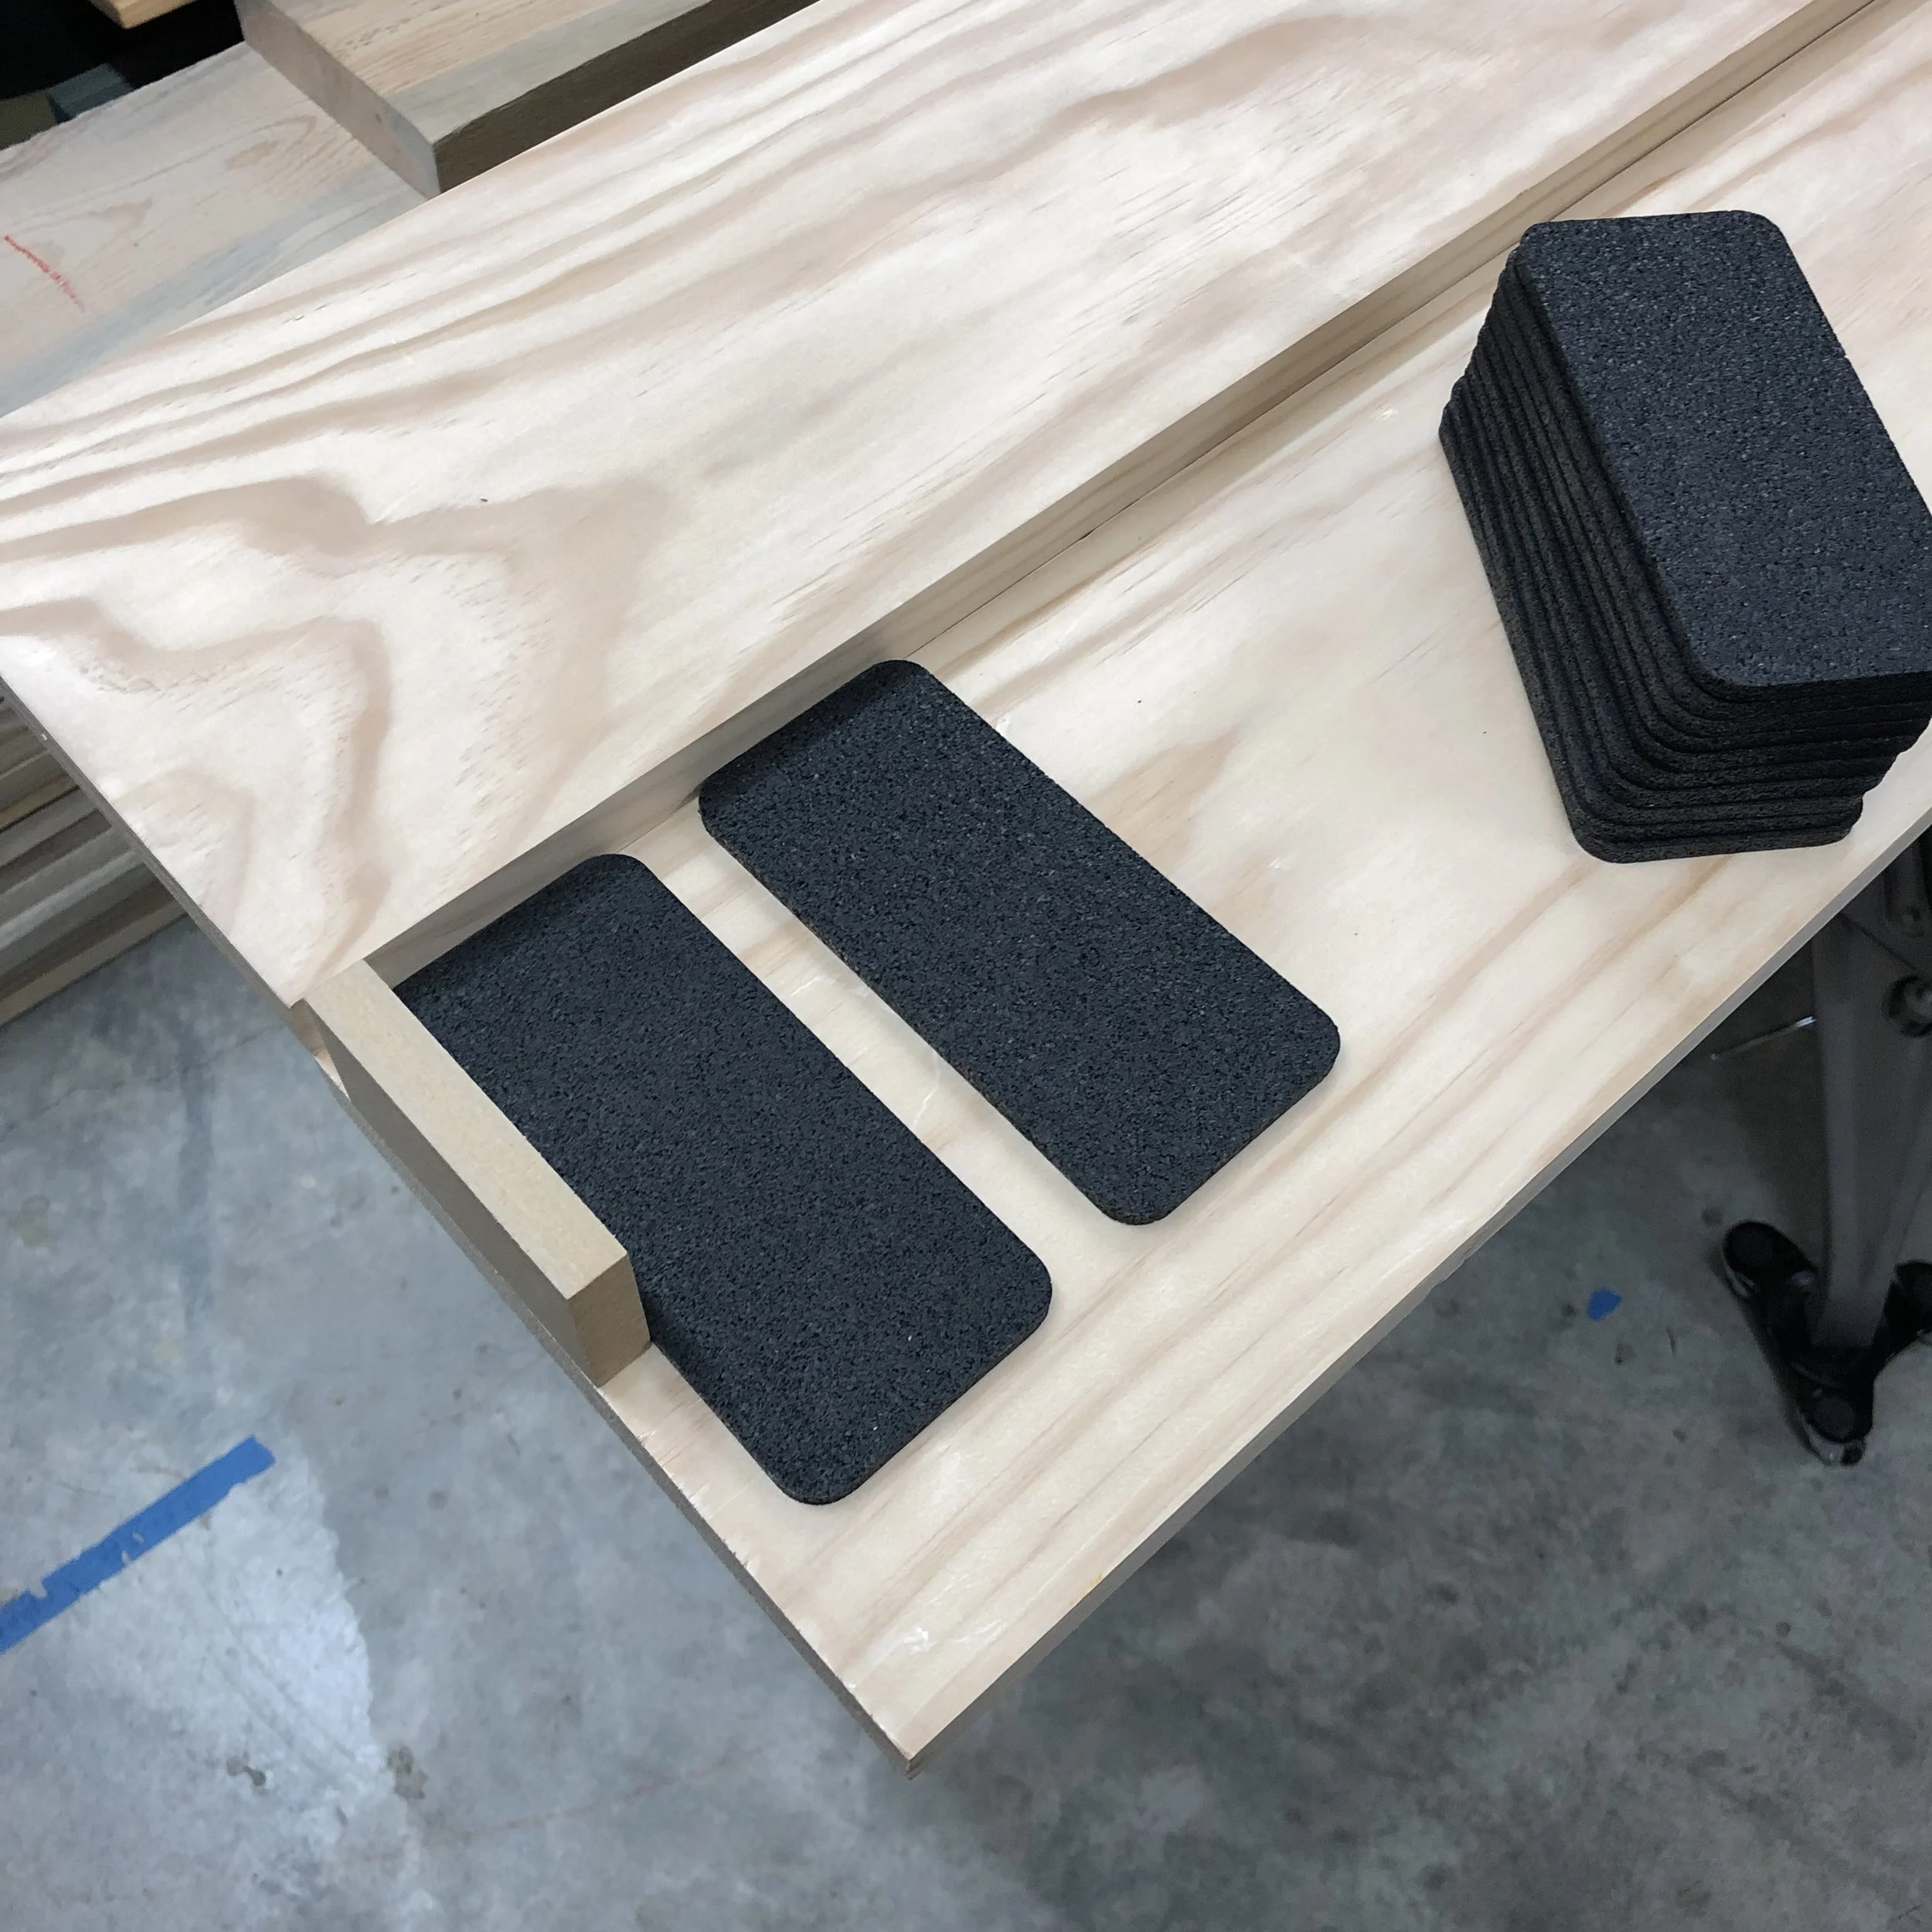 Image 6 of 23
 Image 7 of 23
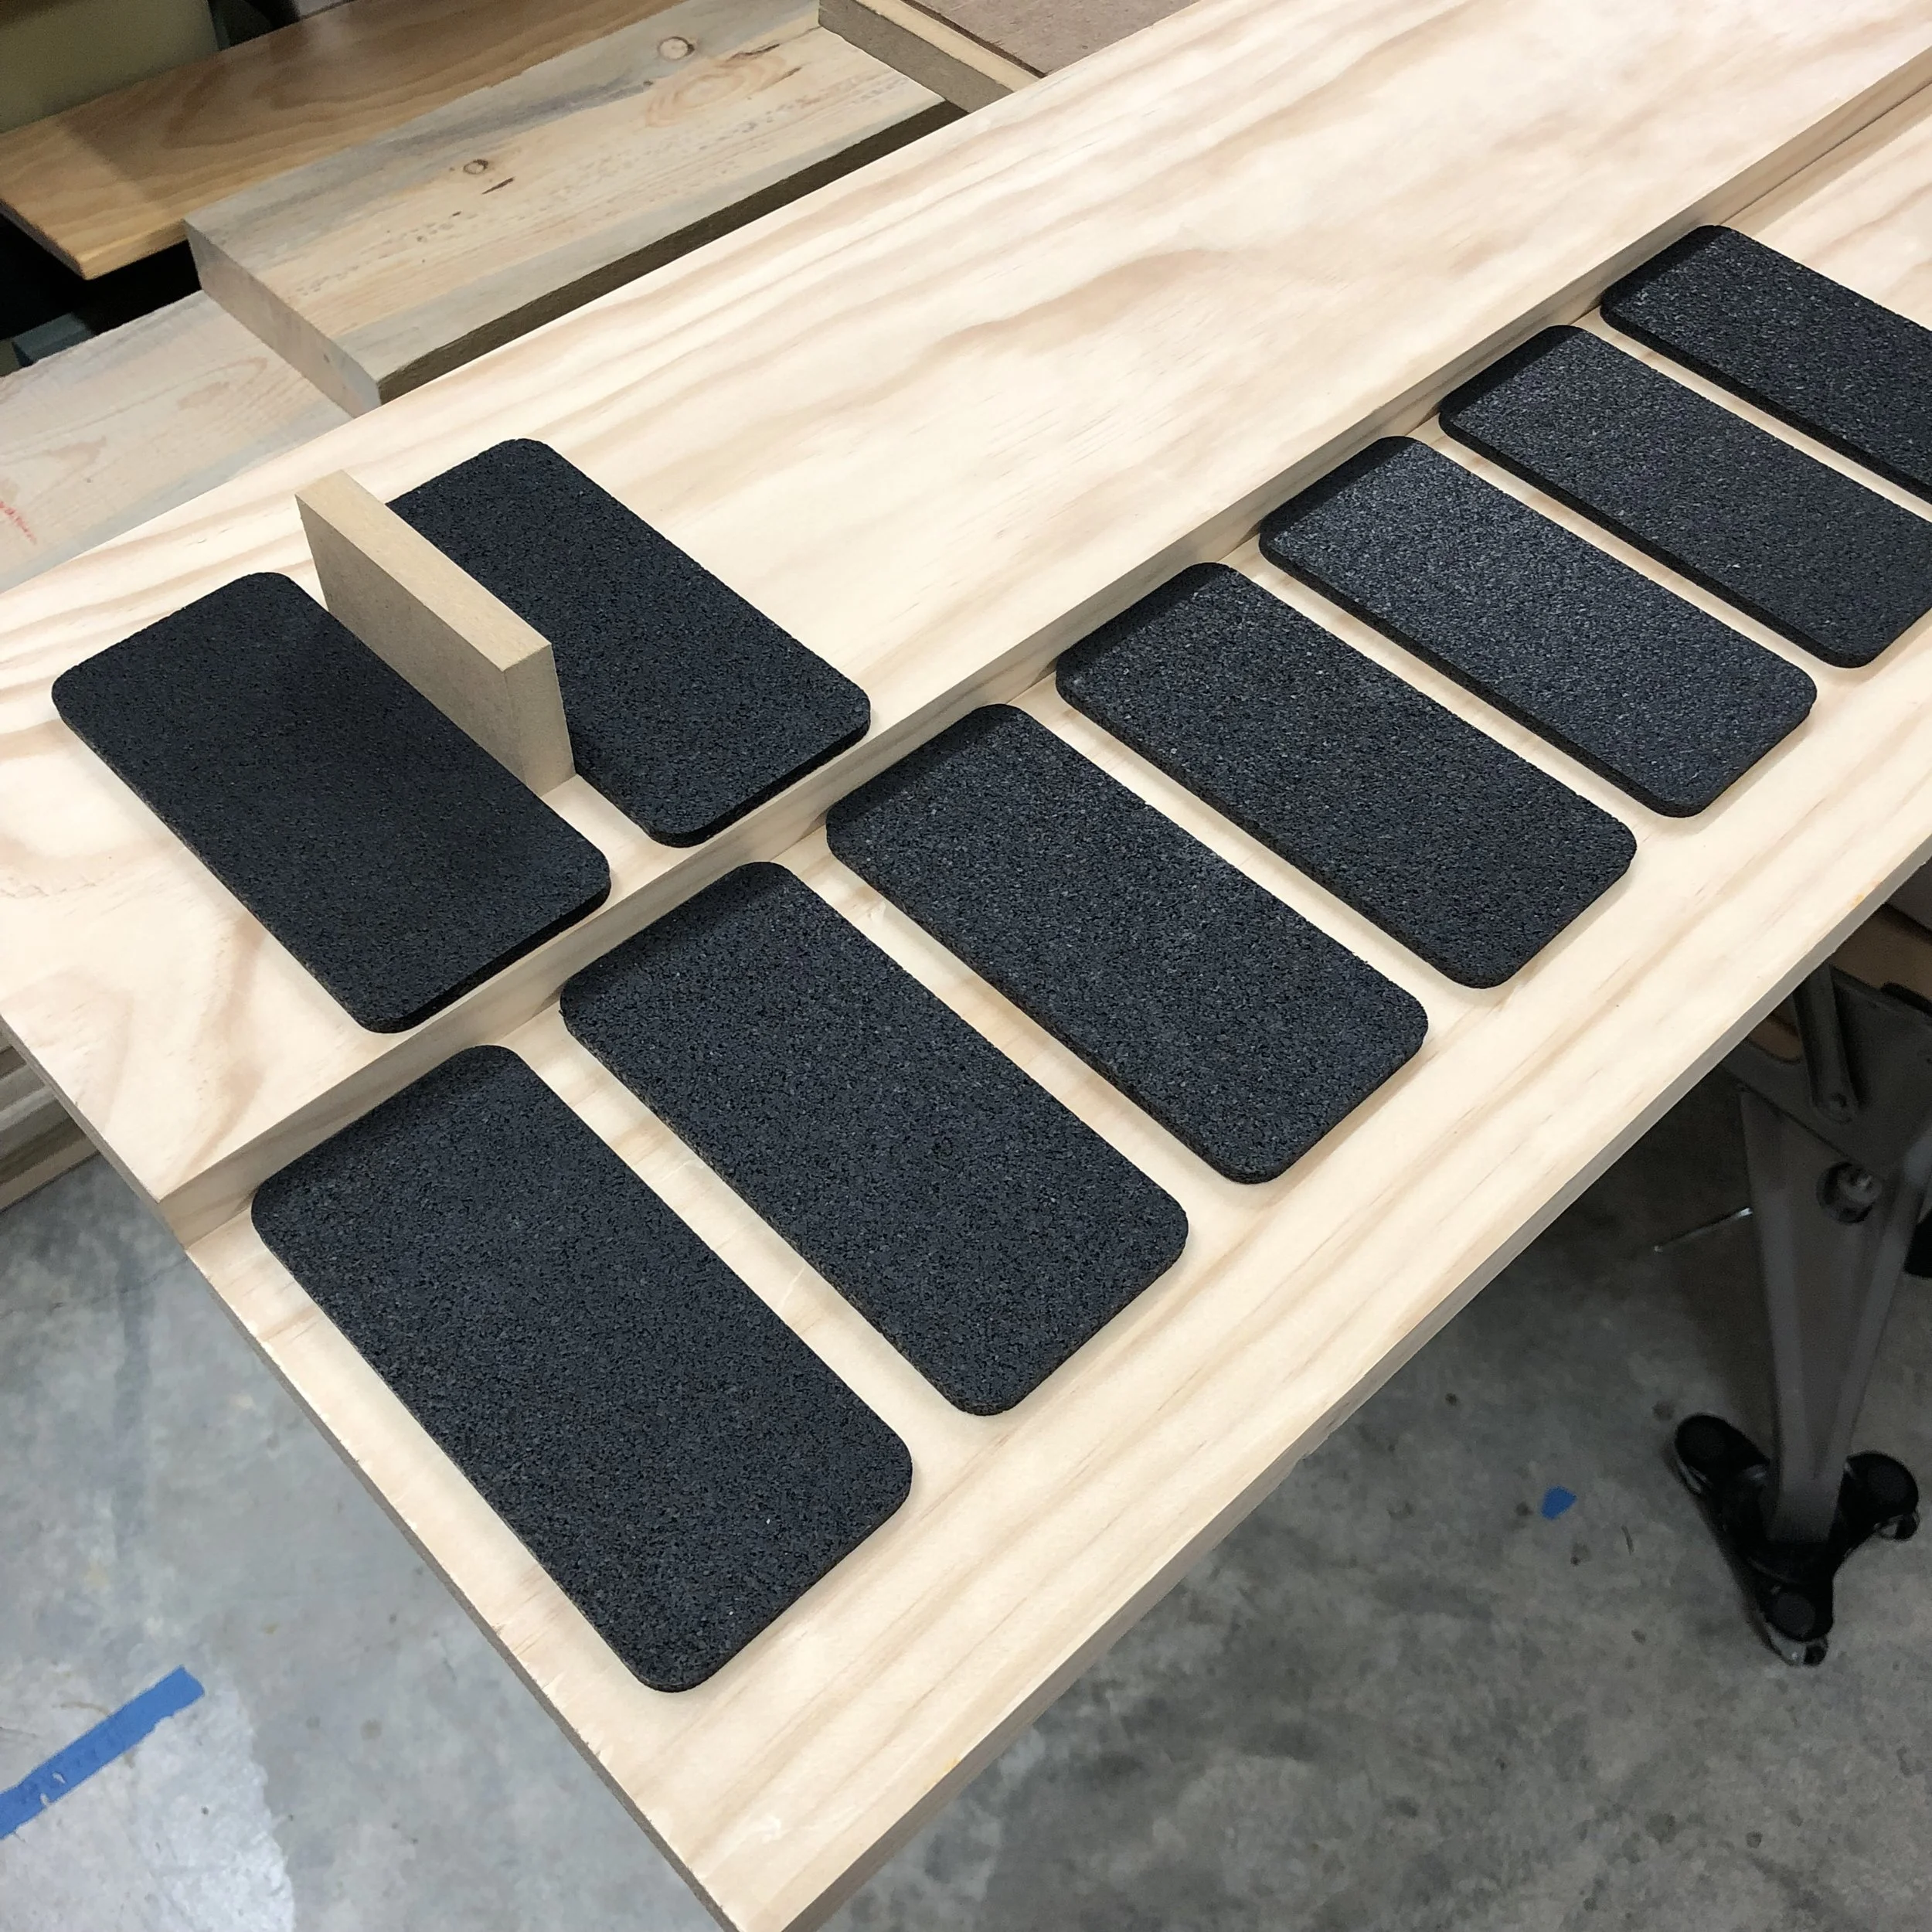 Image 8 of 23
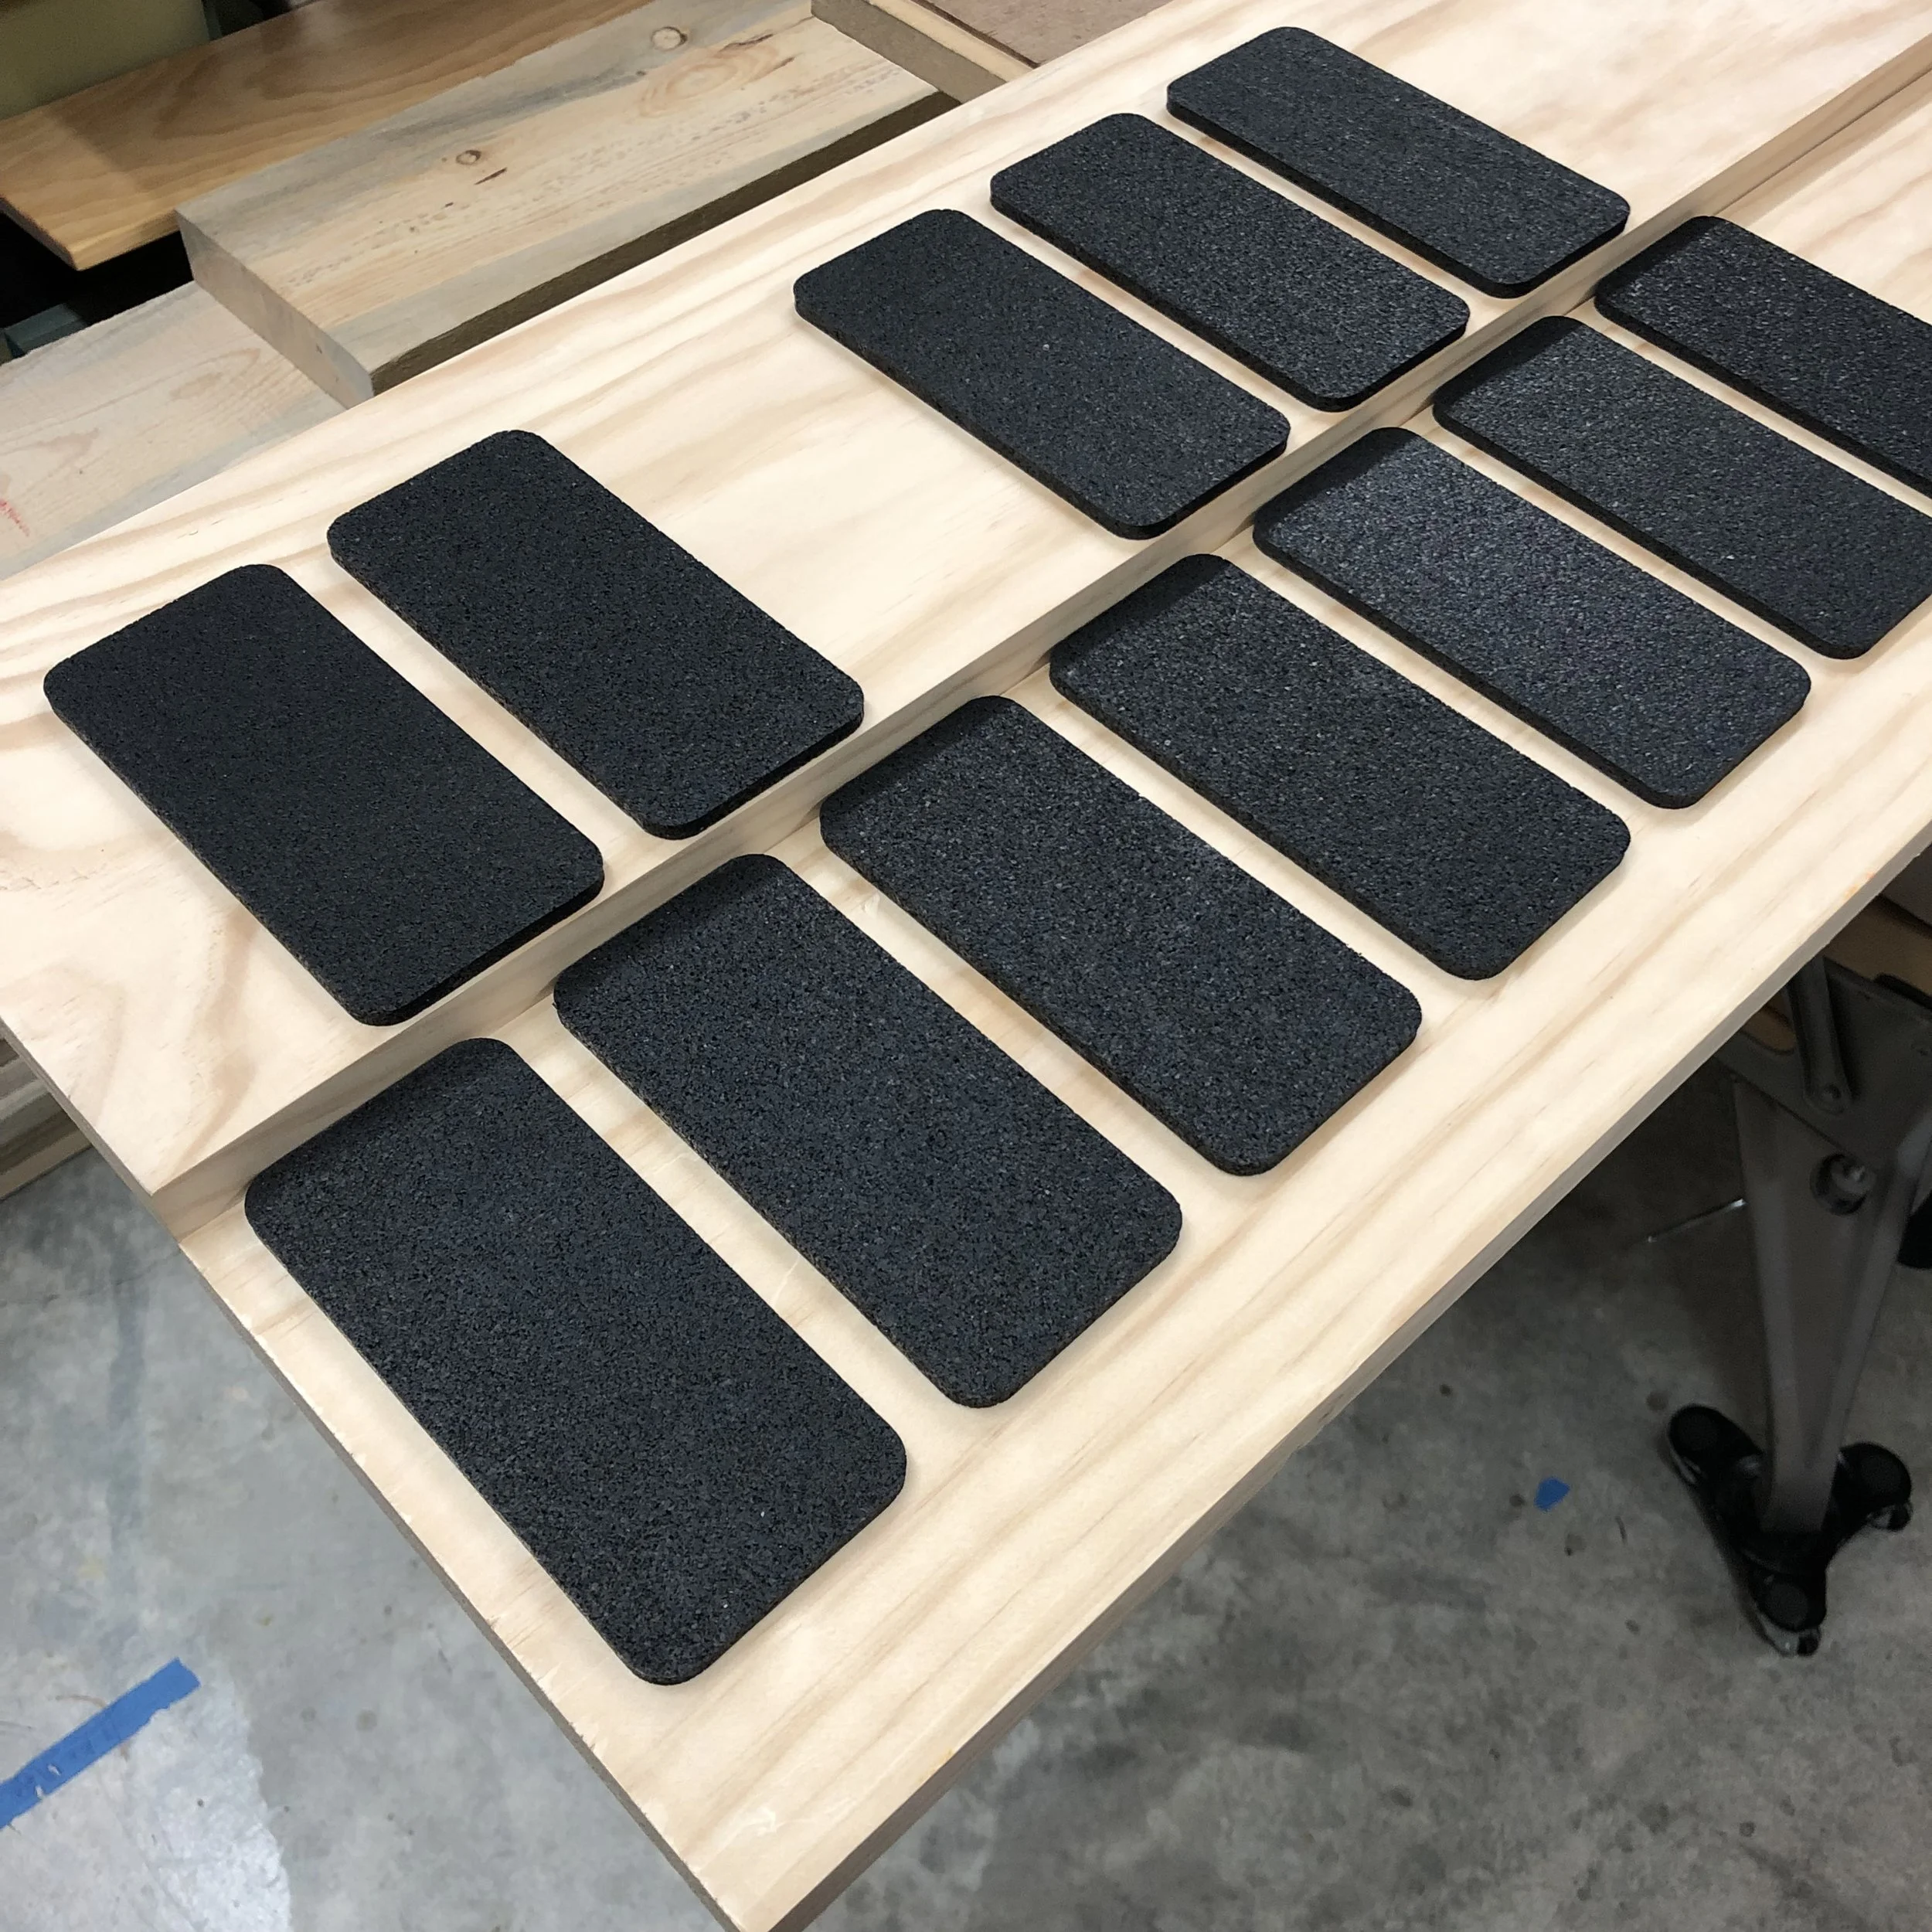 Image 9 of 23
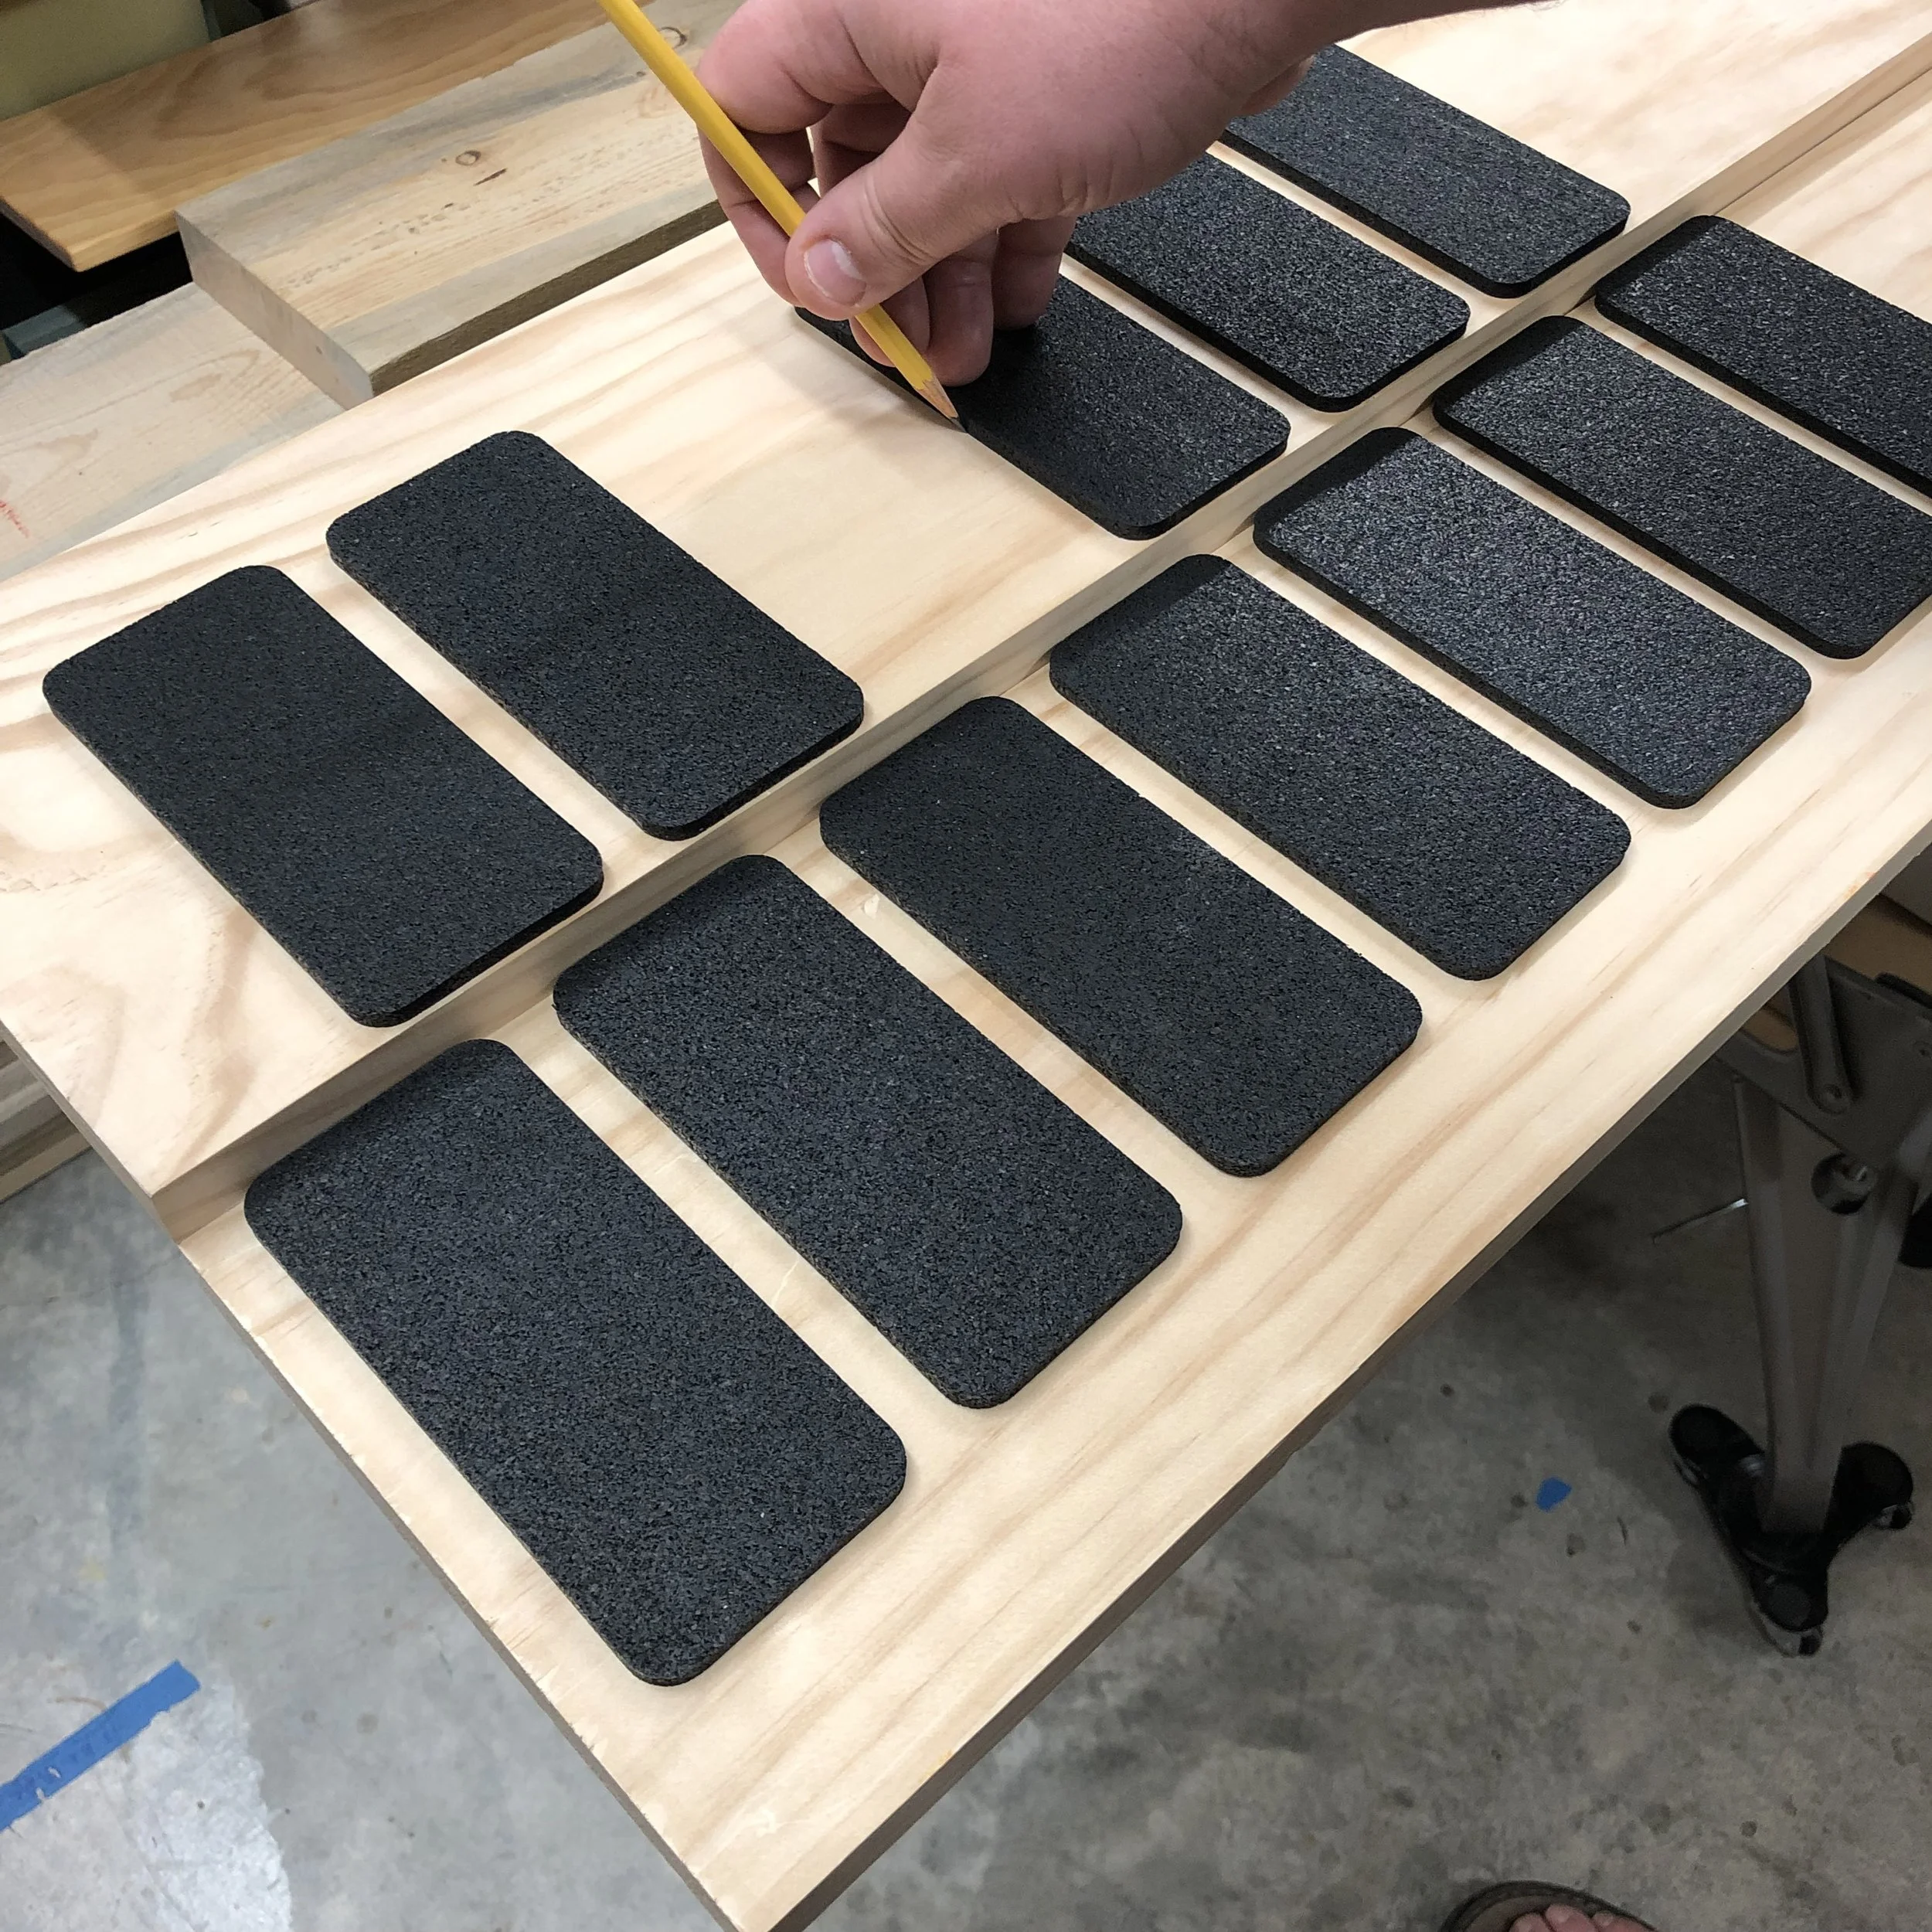 Image 10 of 23
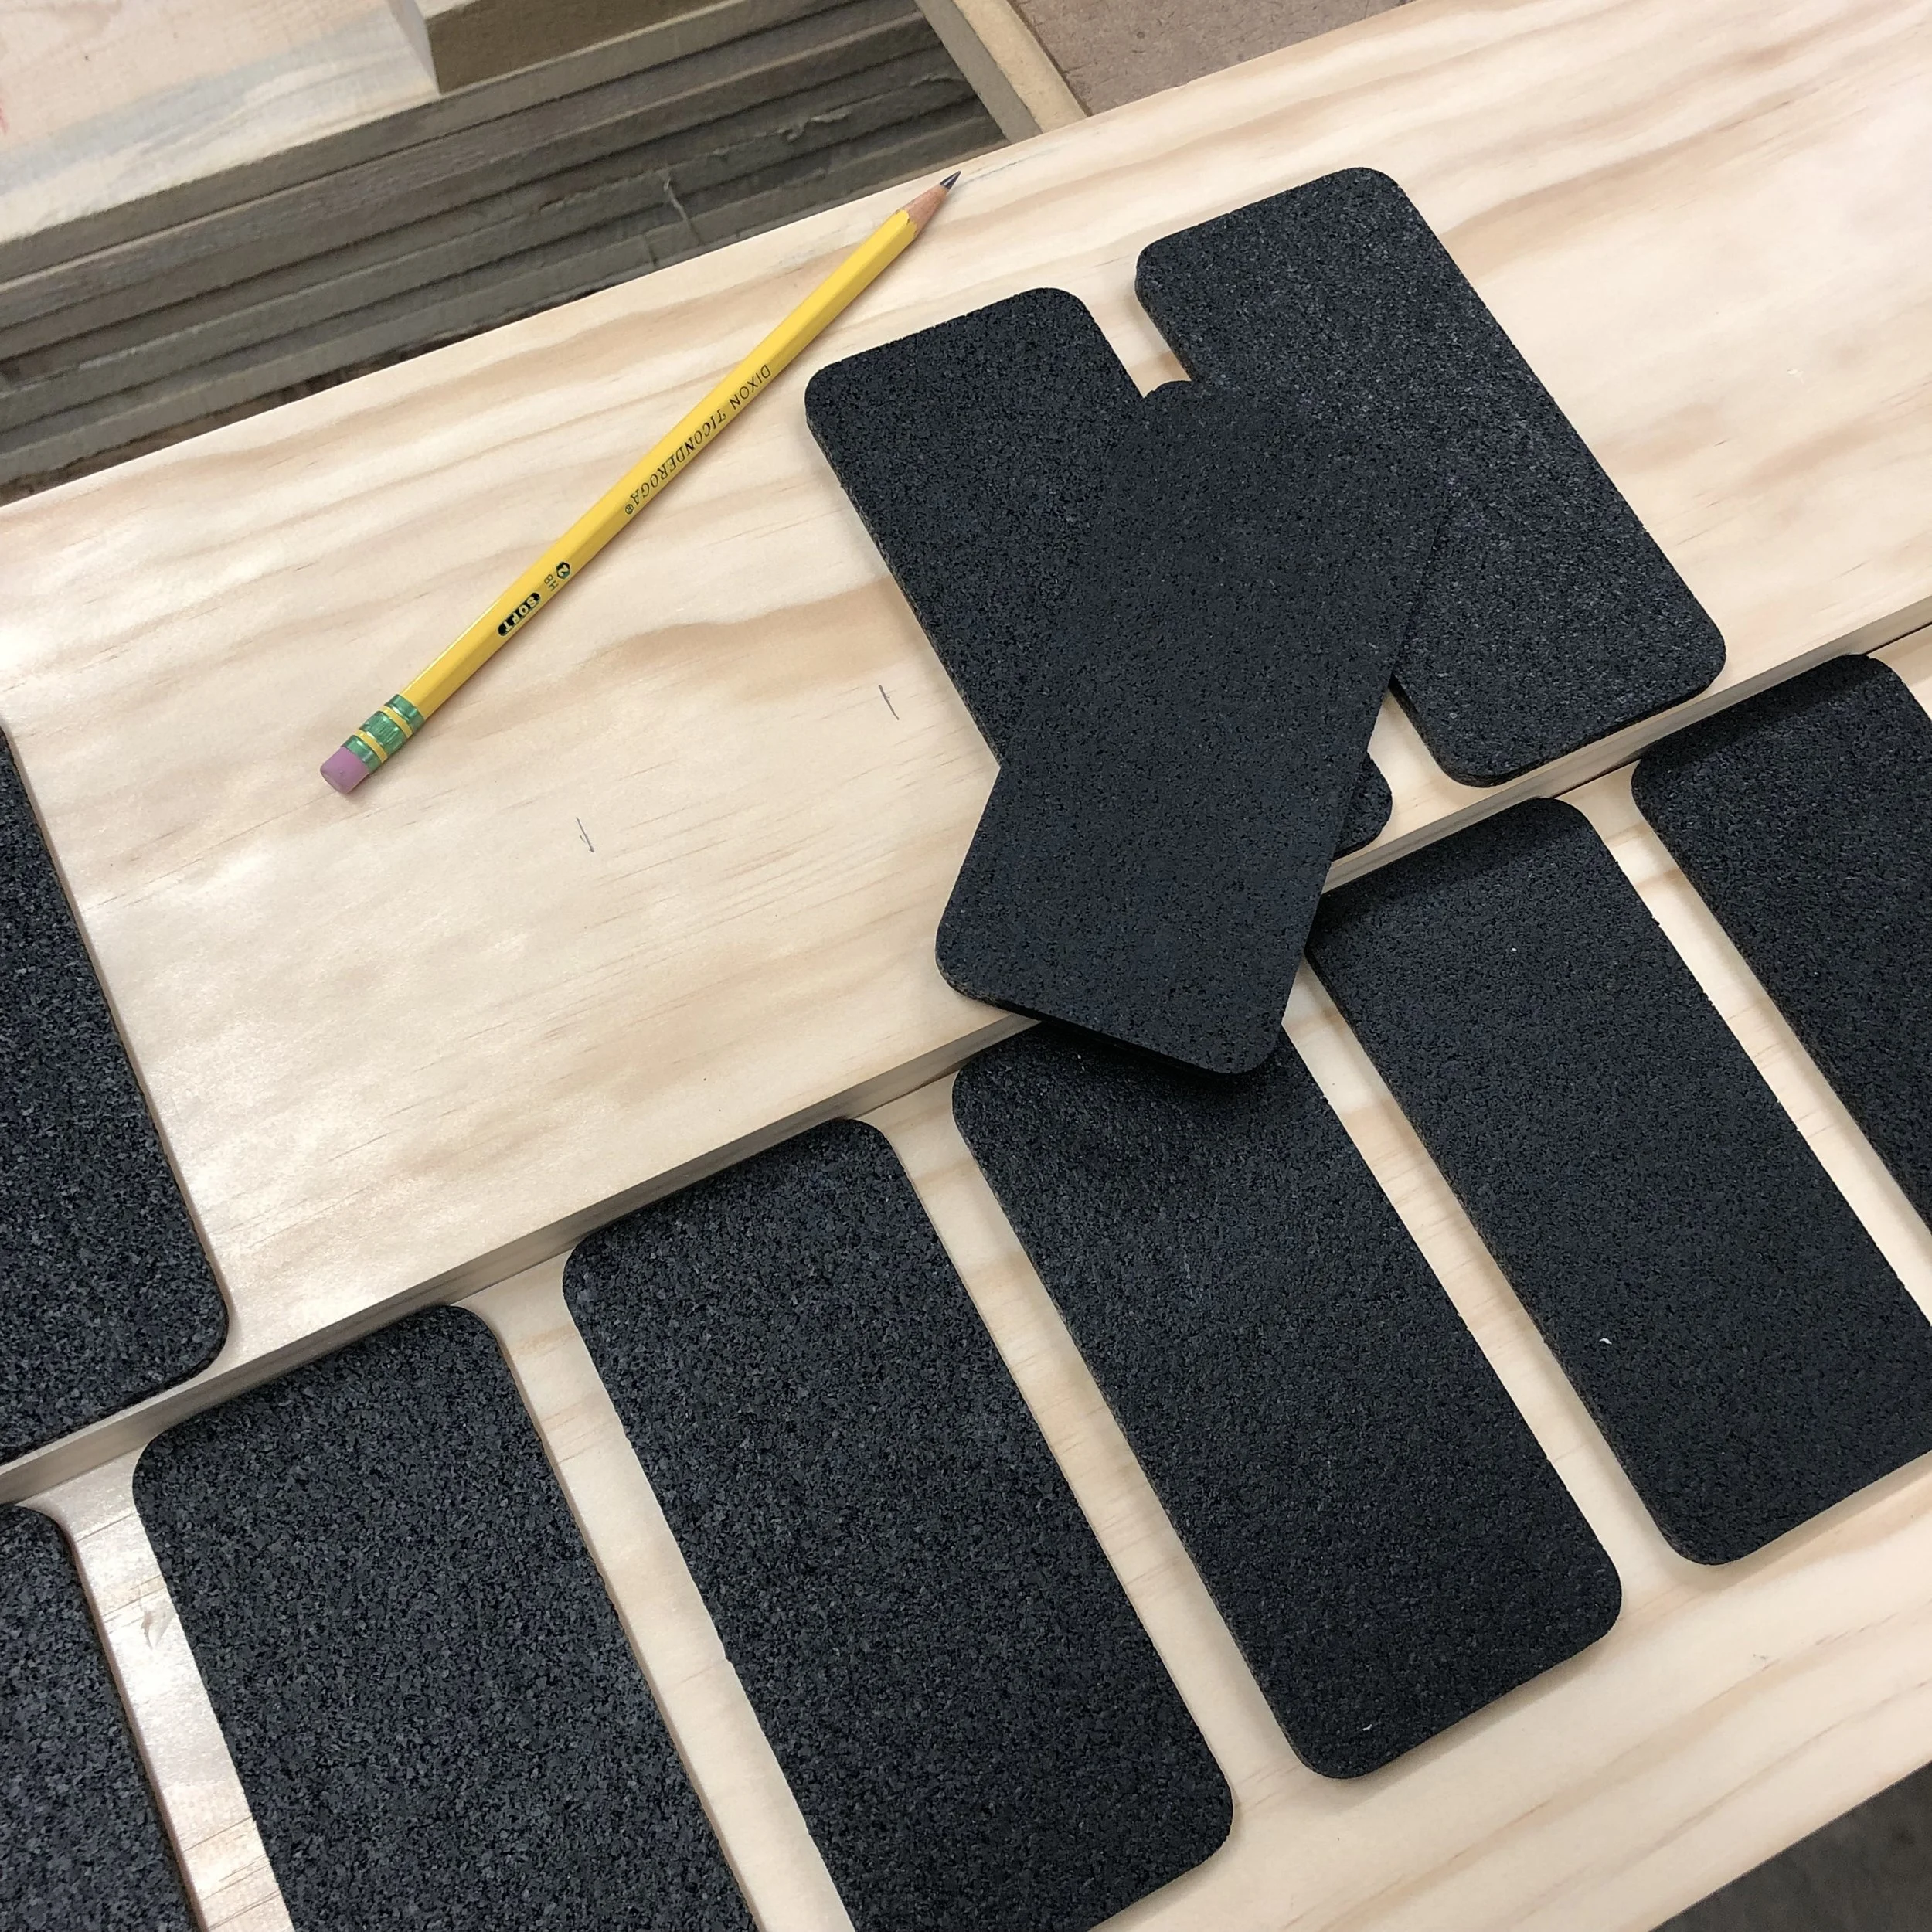 Image 11 of 23
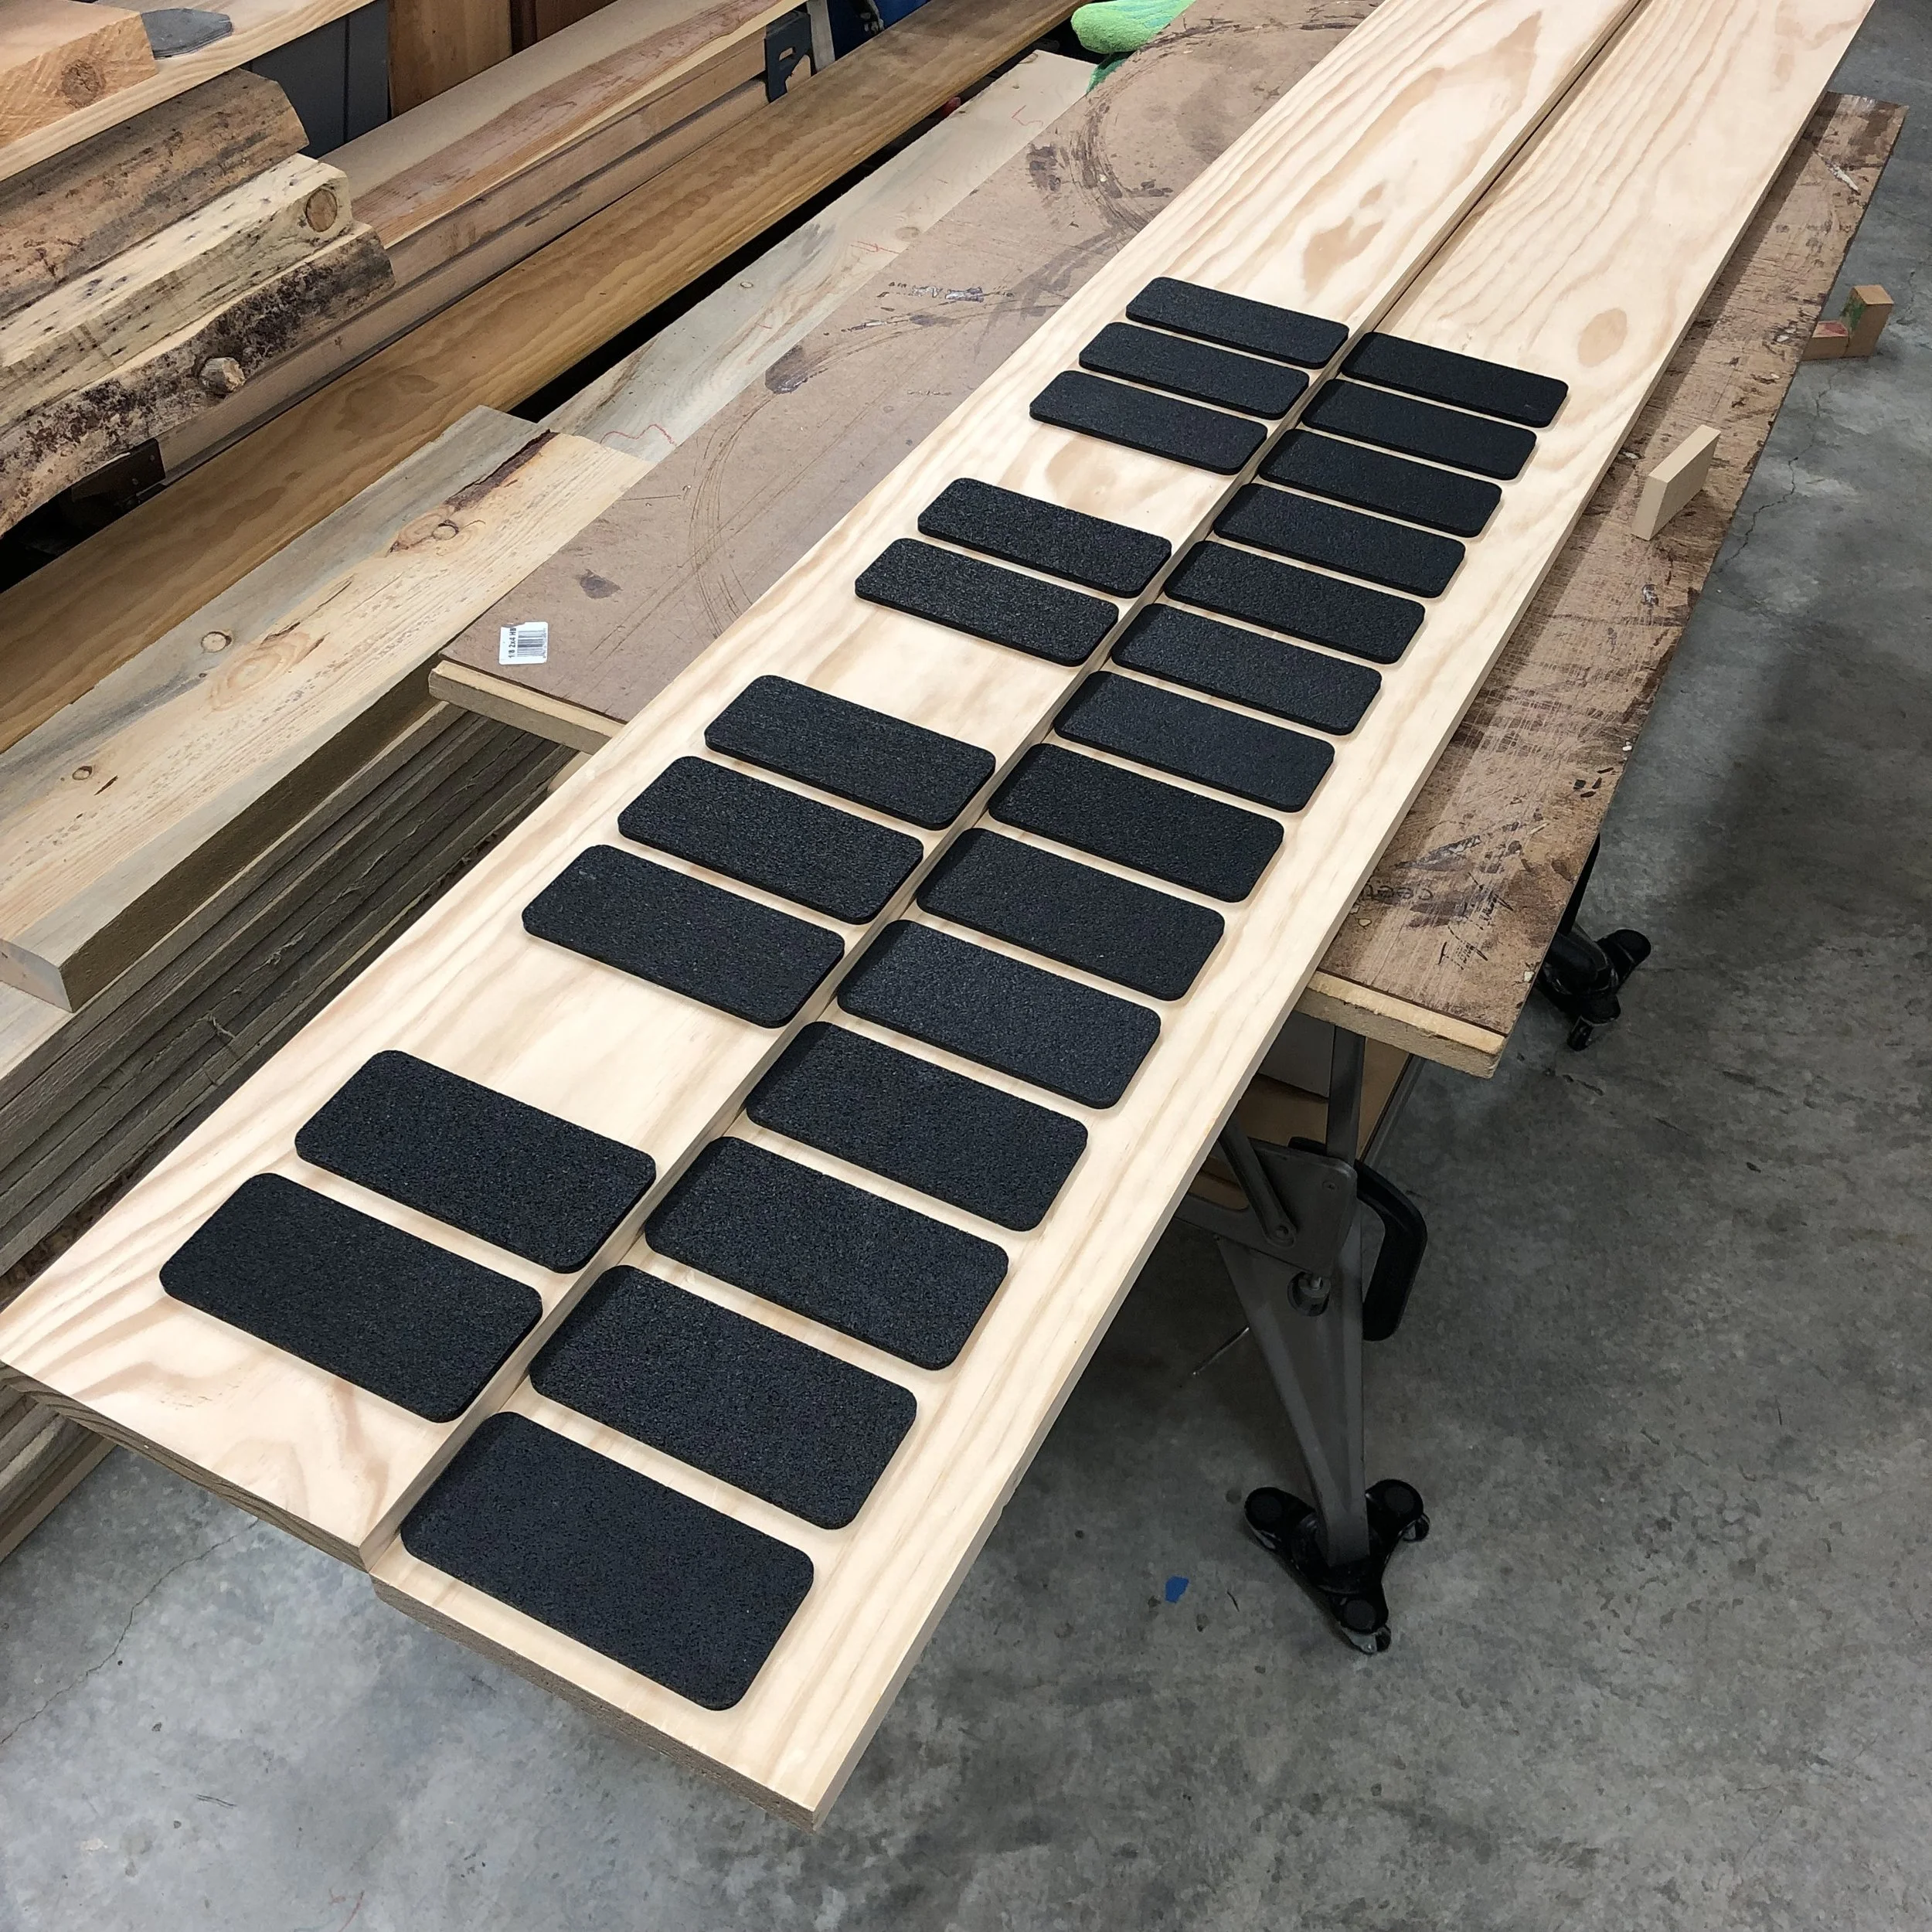 Image 12 of 23
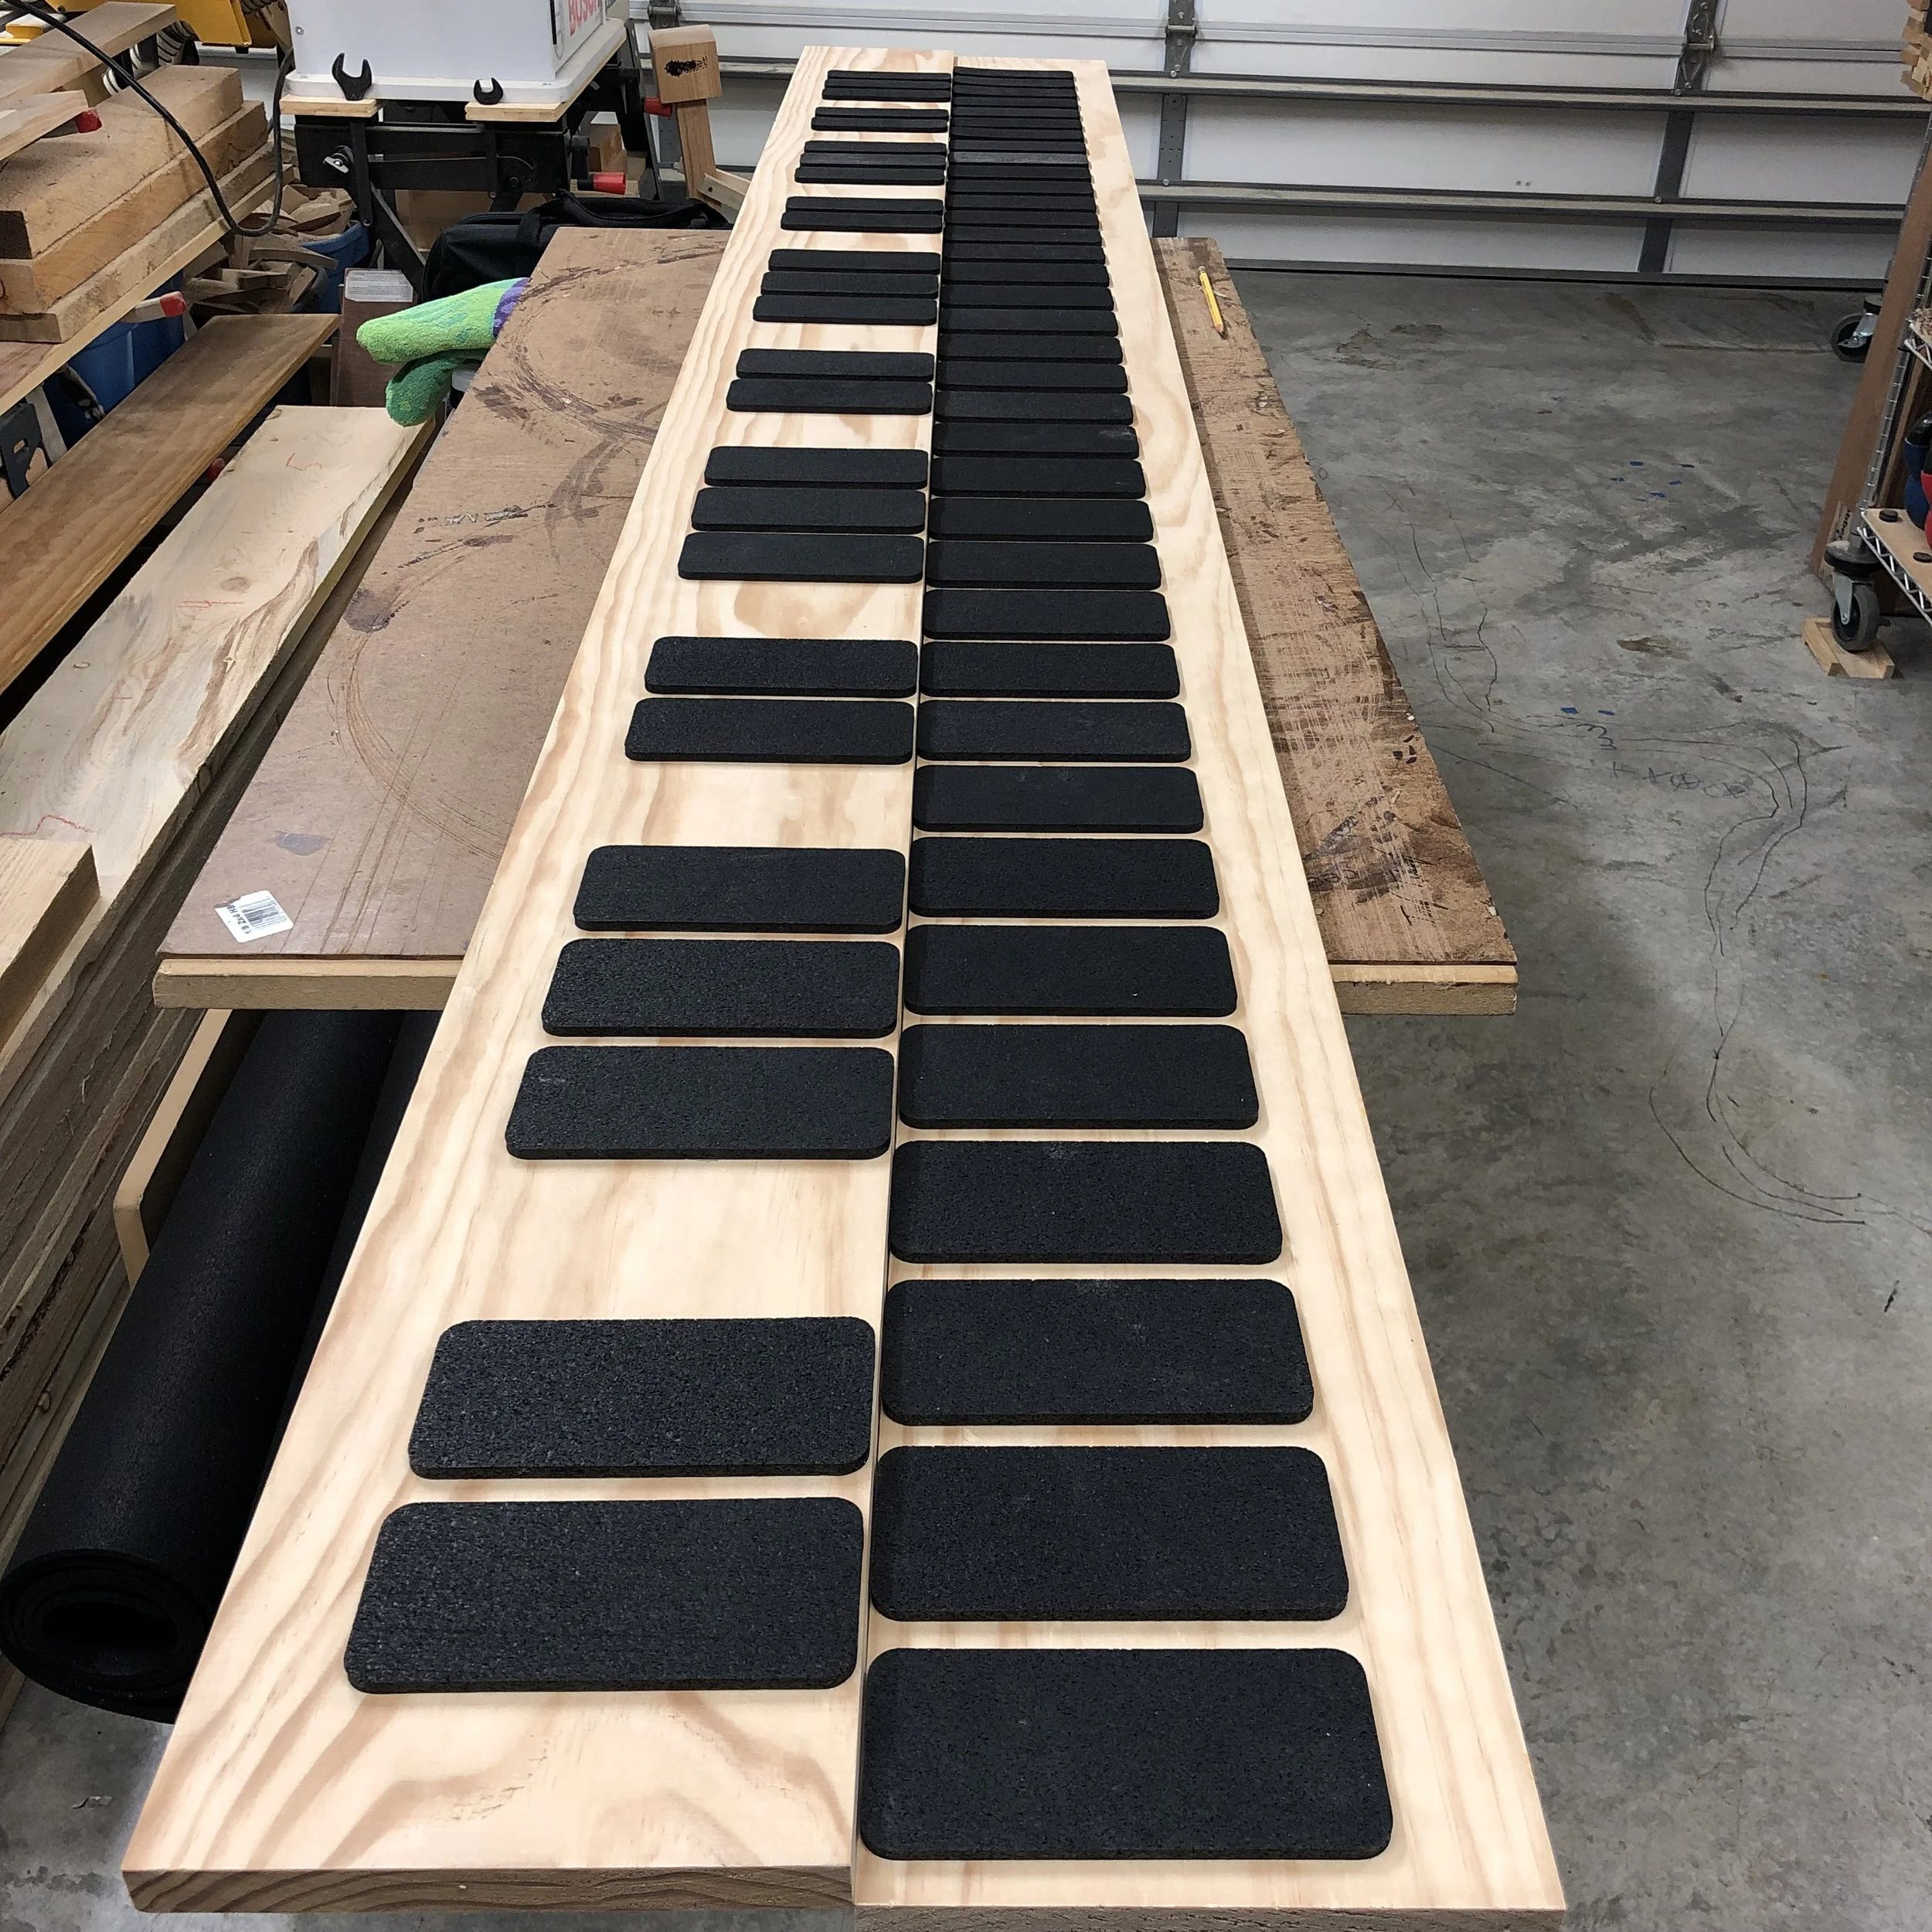 Image 13 of 23
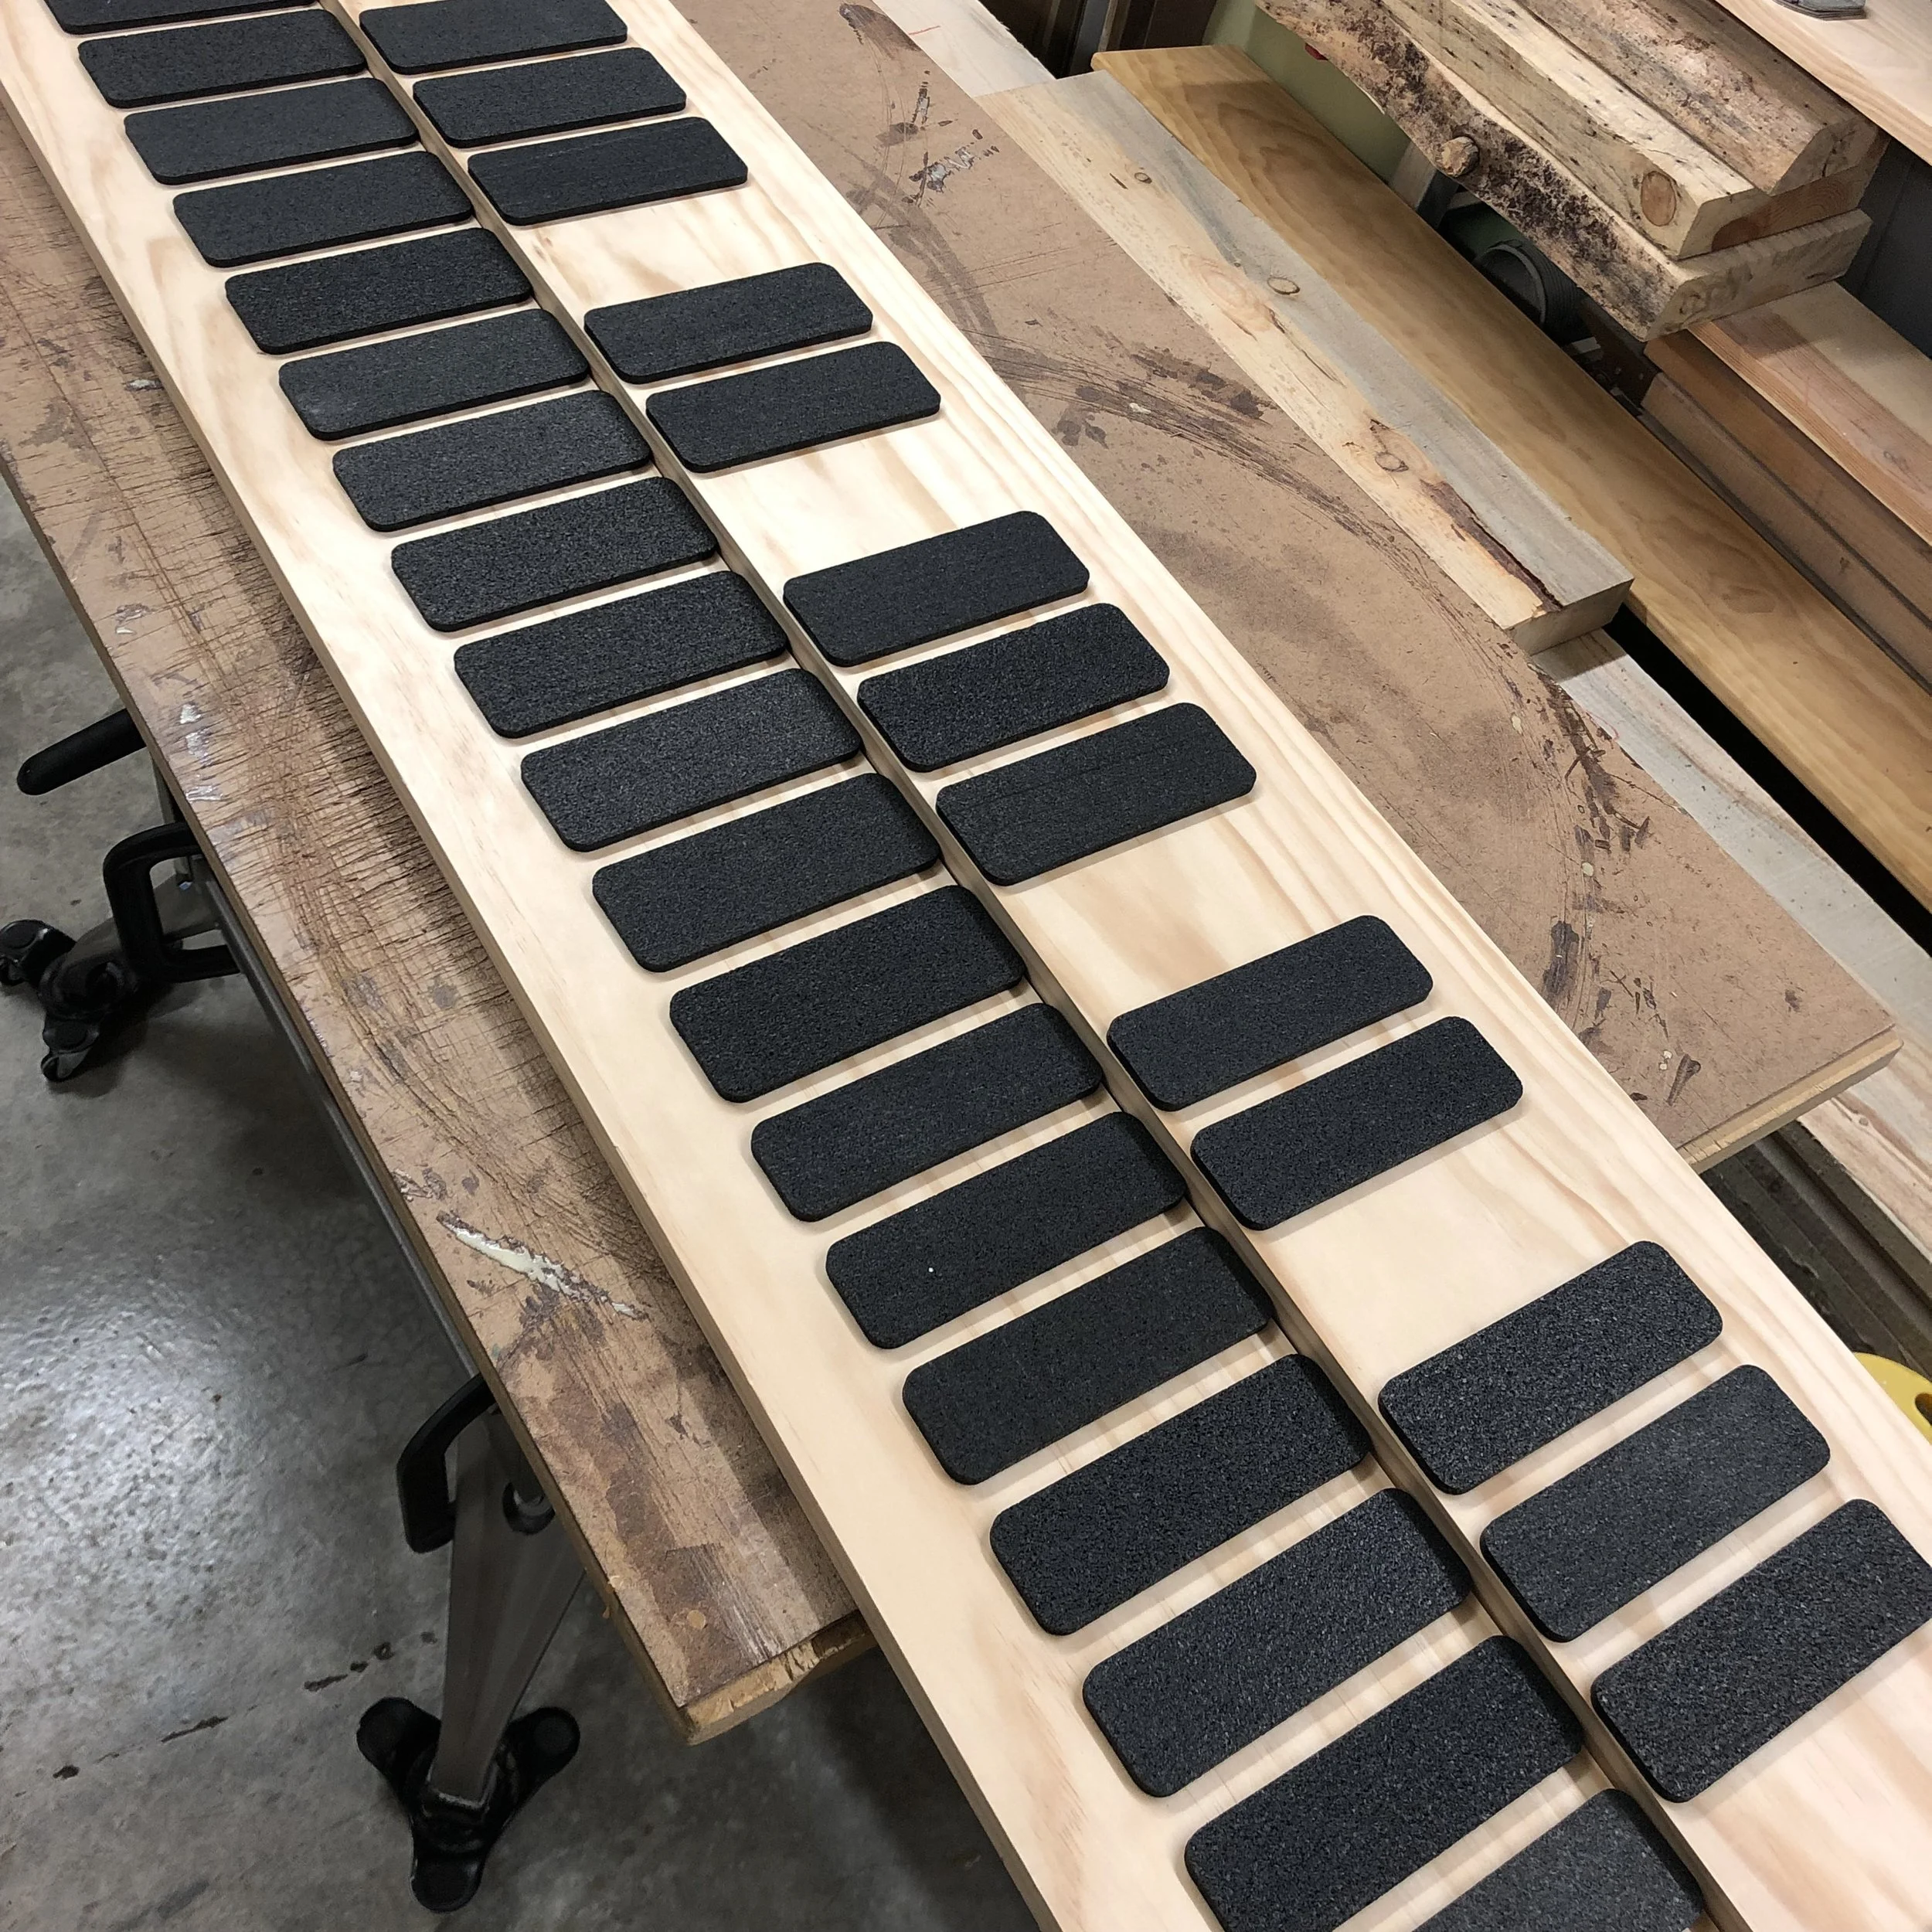 Image 14 of 23
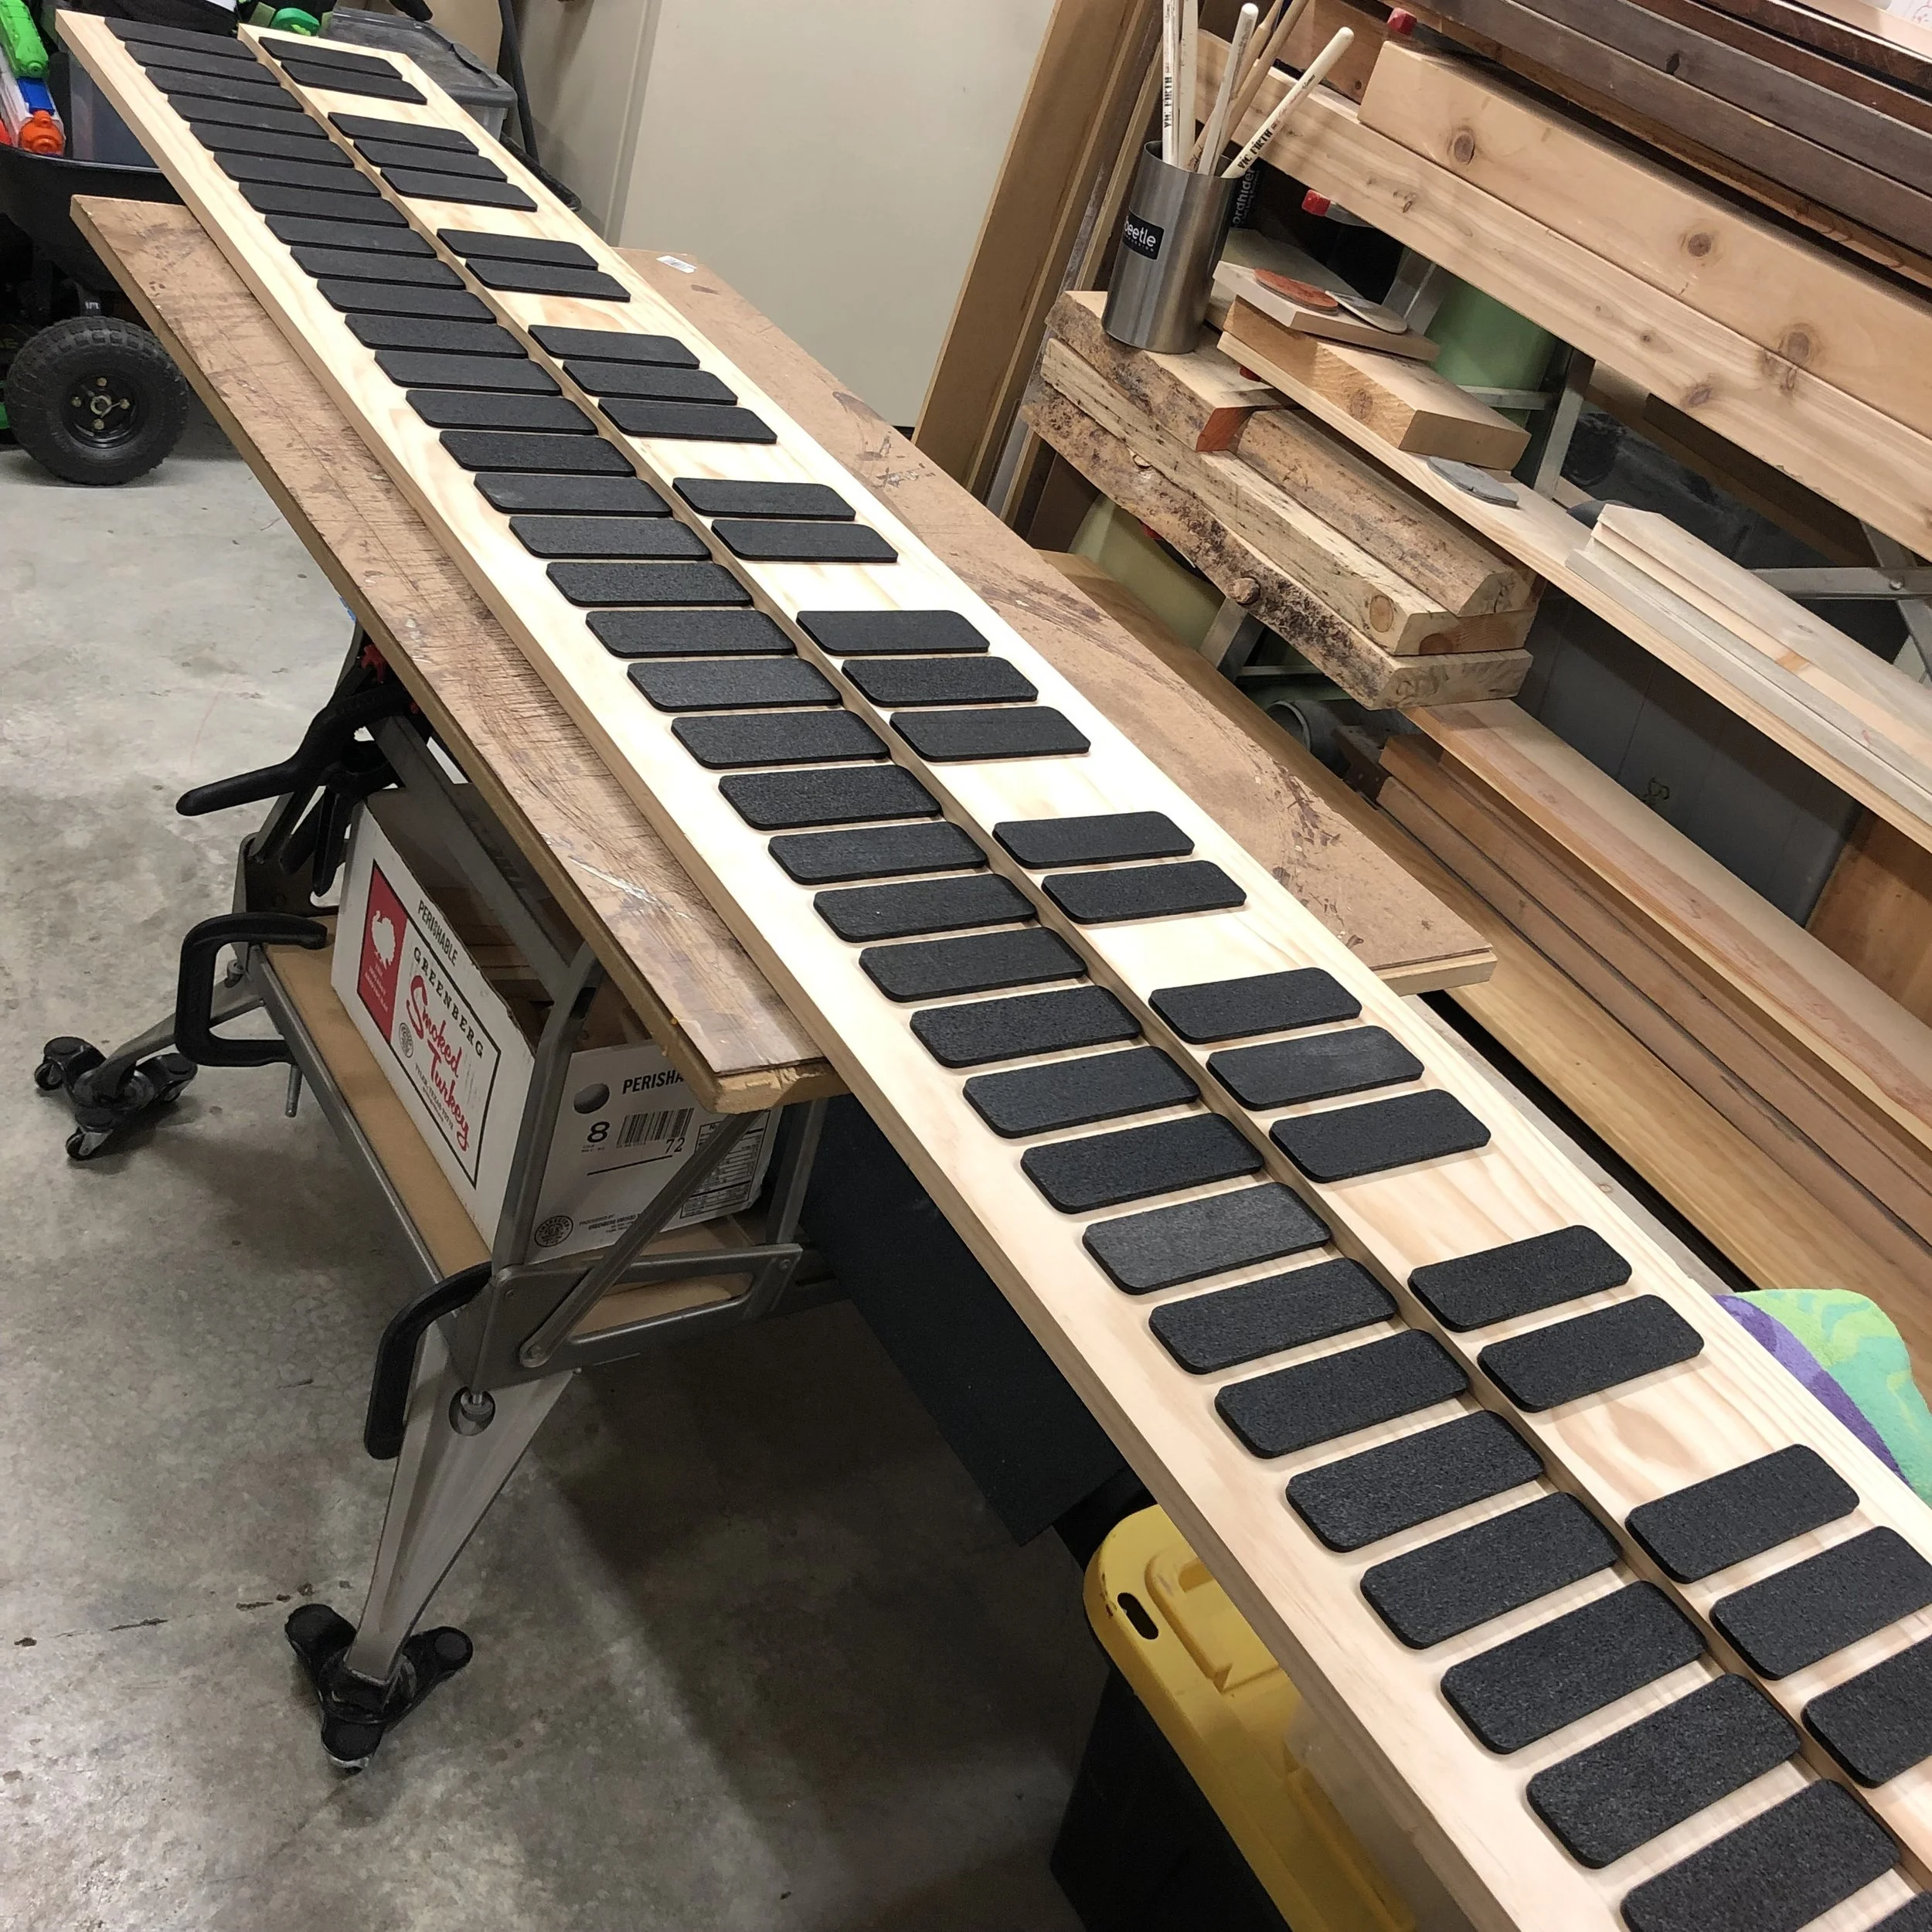 Image 15 of 23
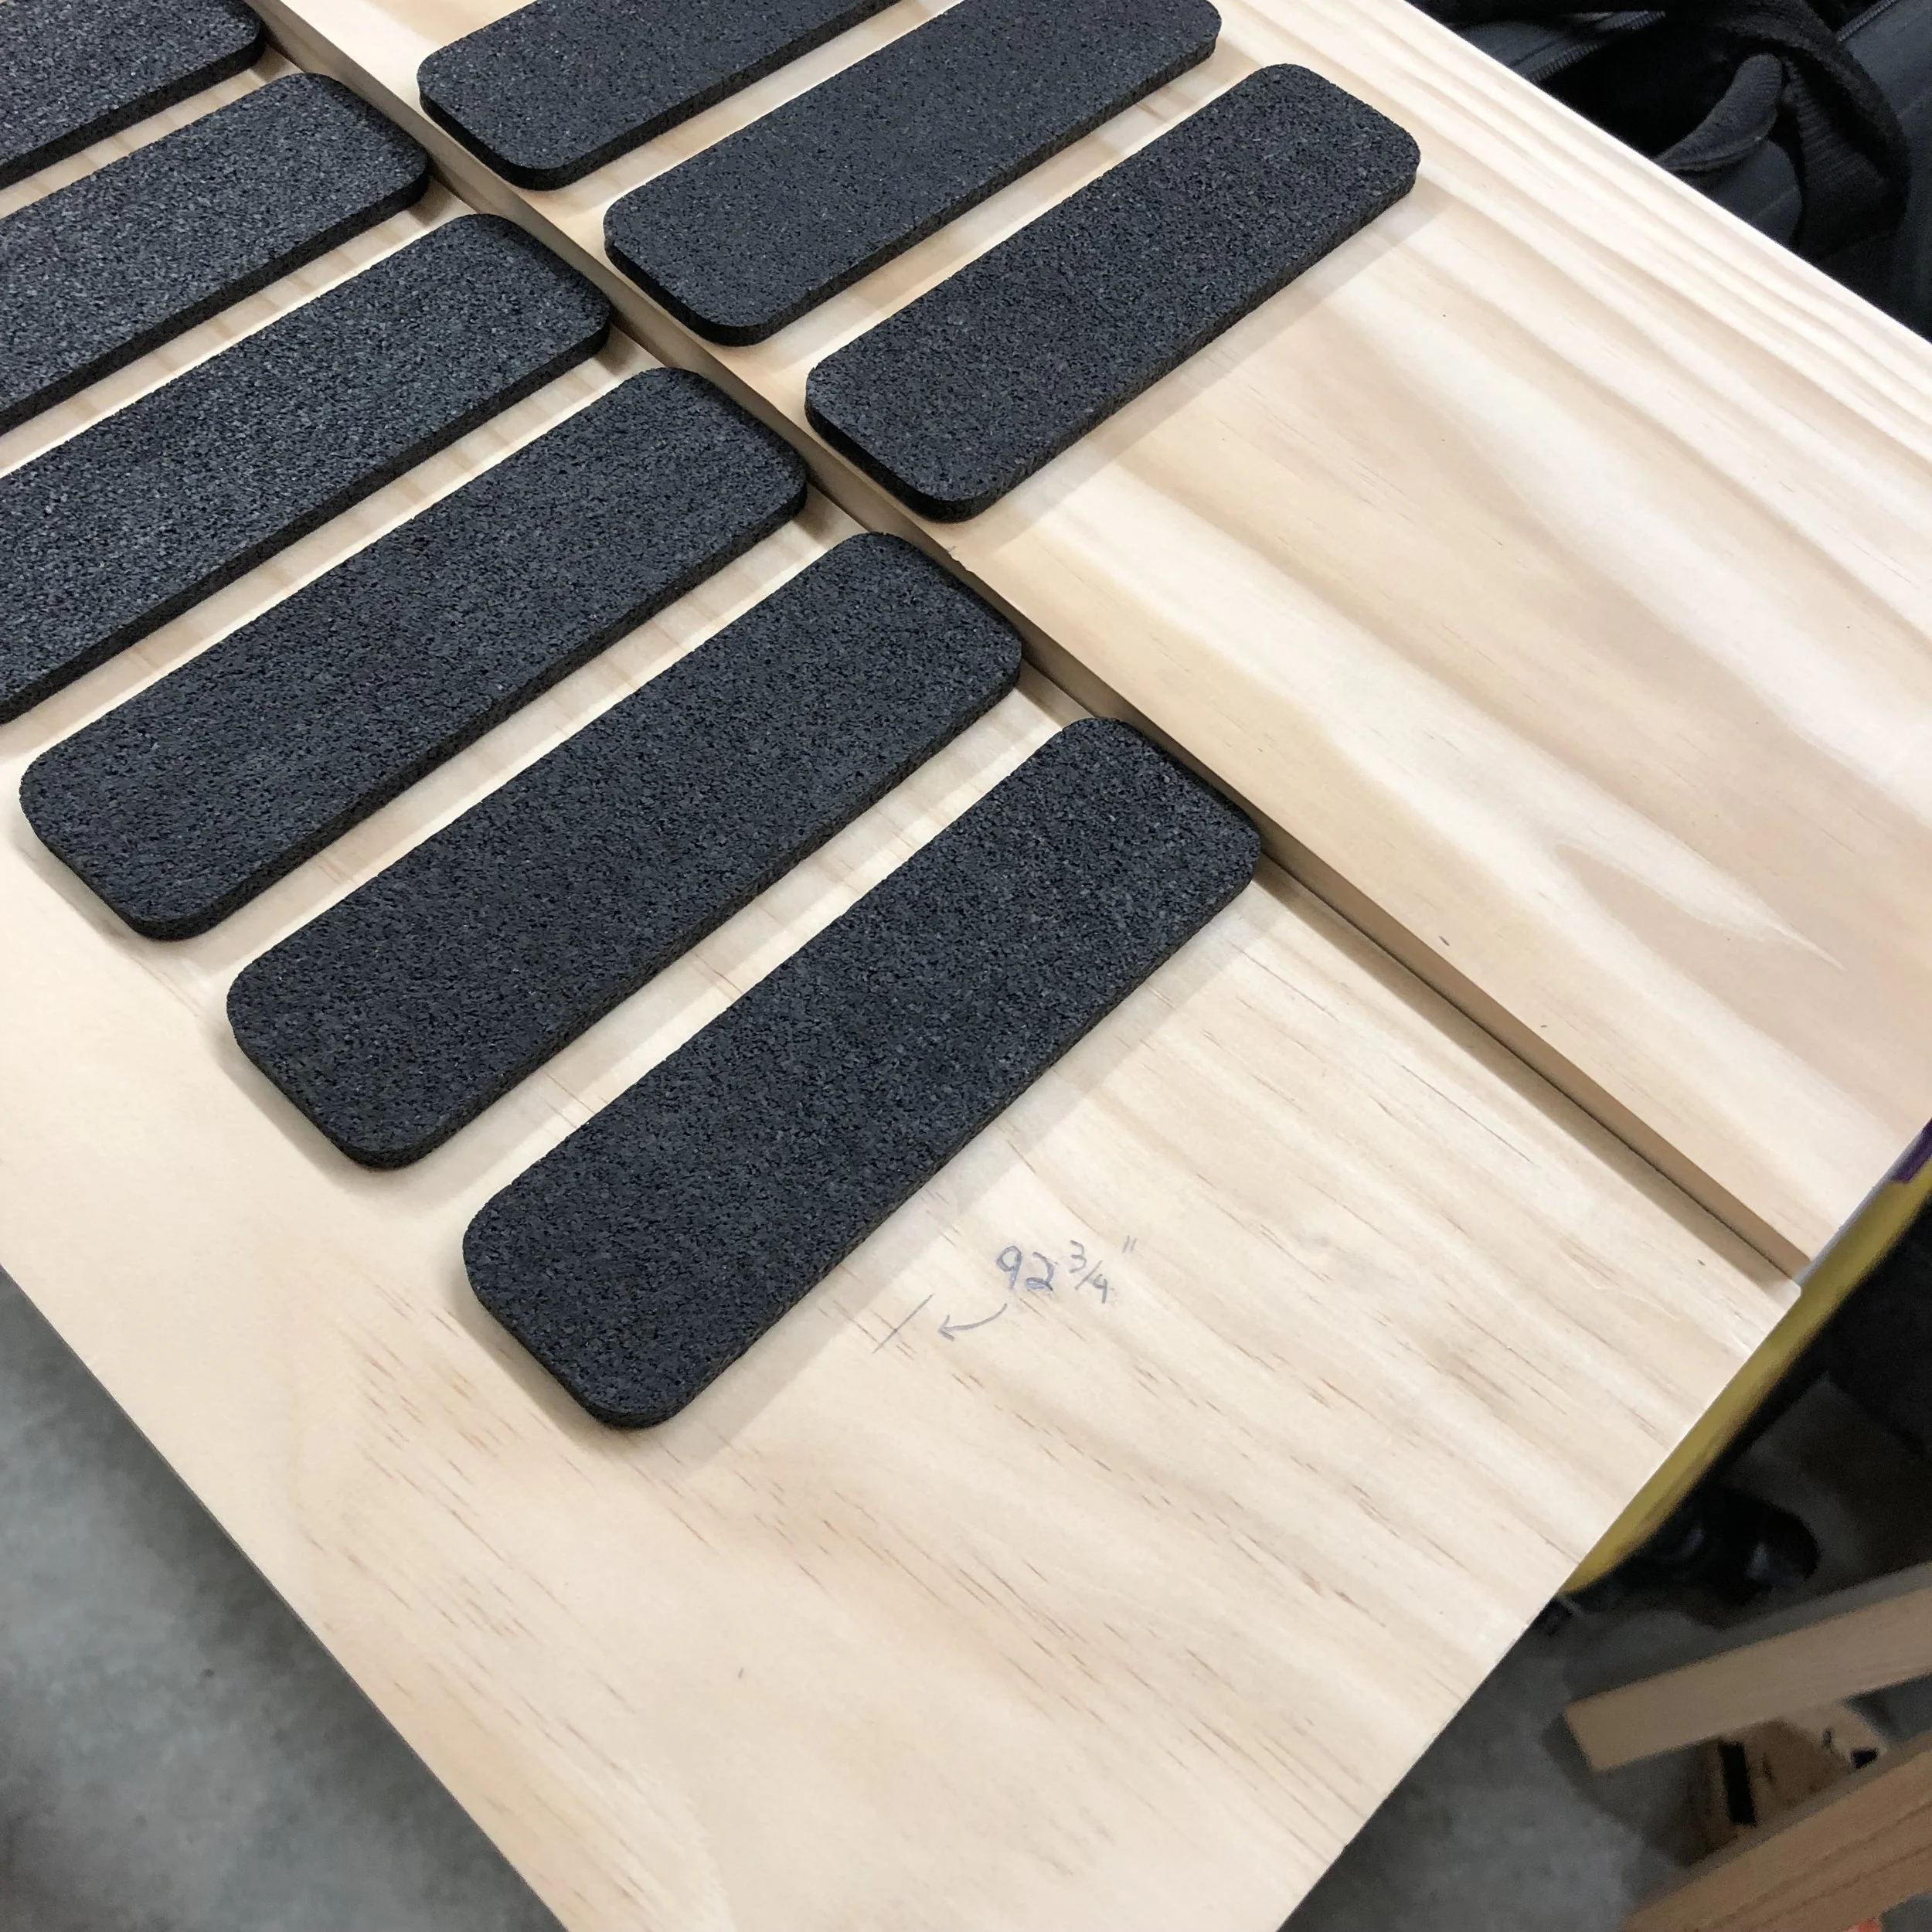 Image 16 of 23
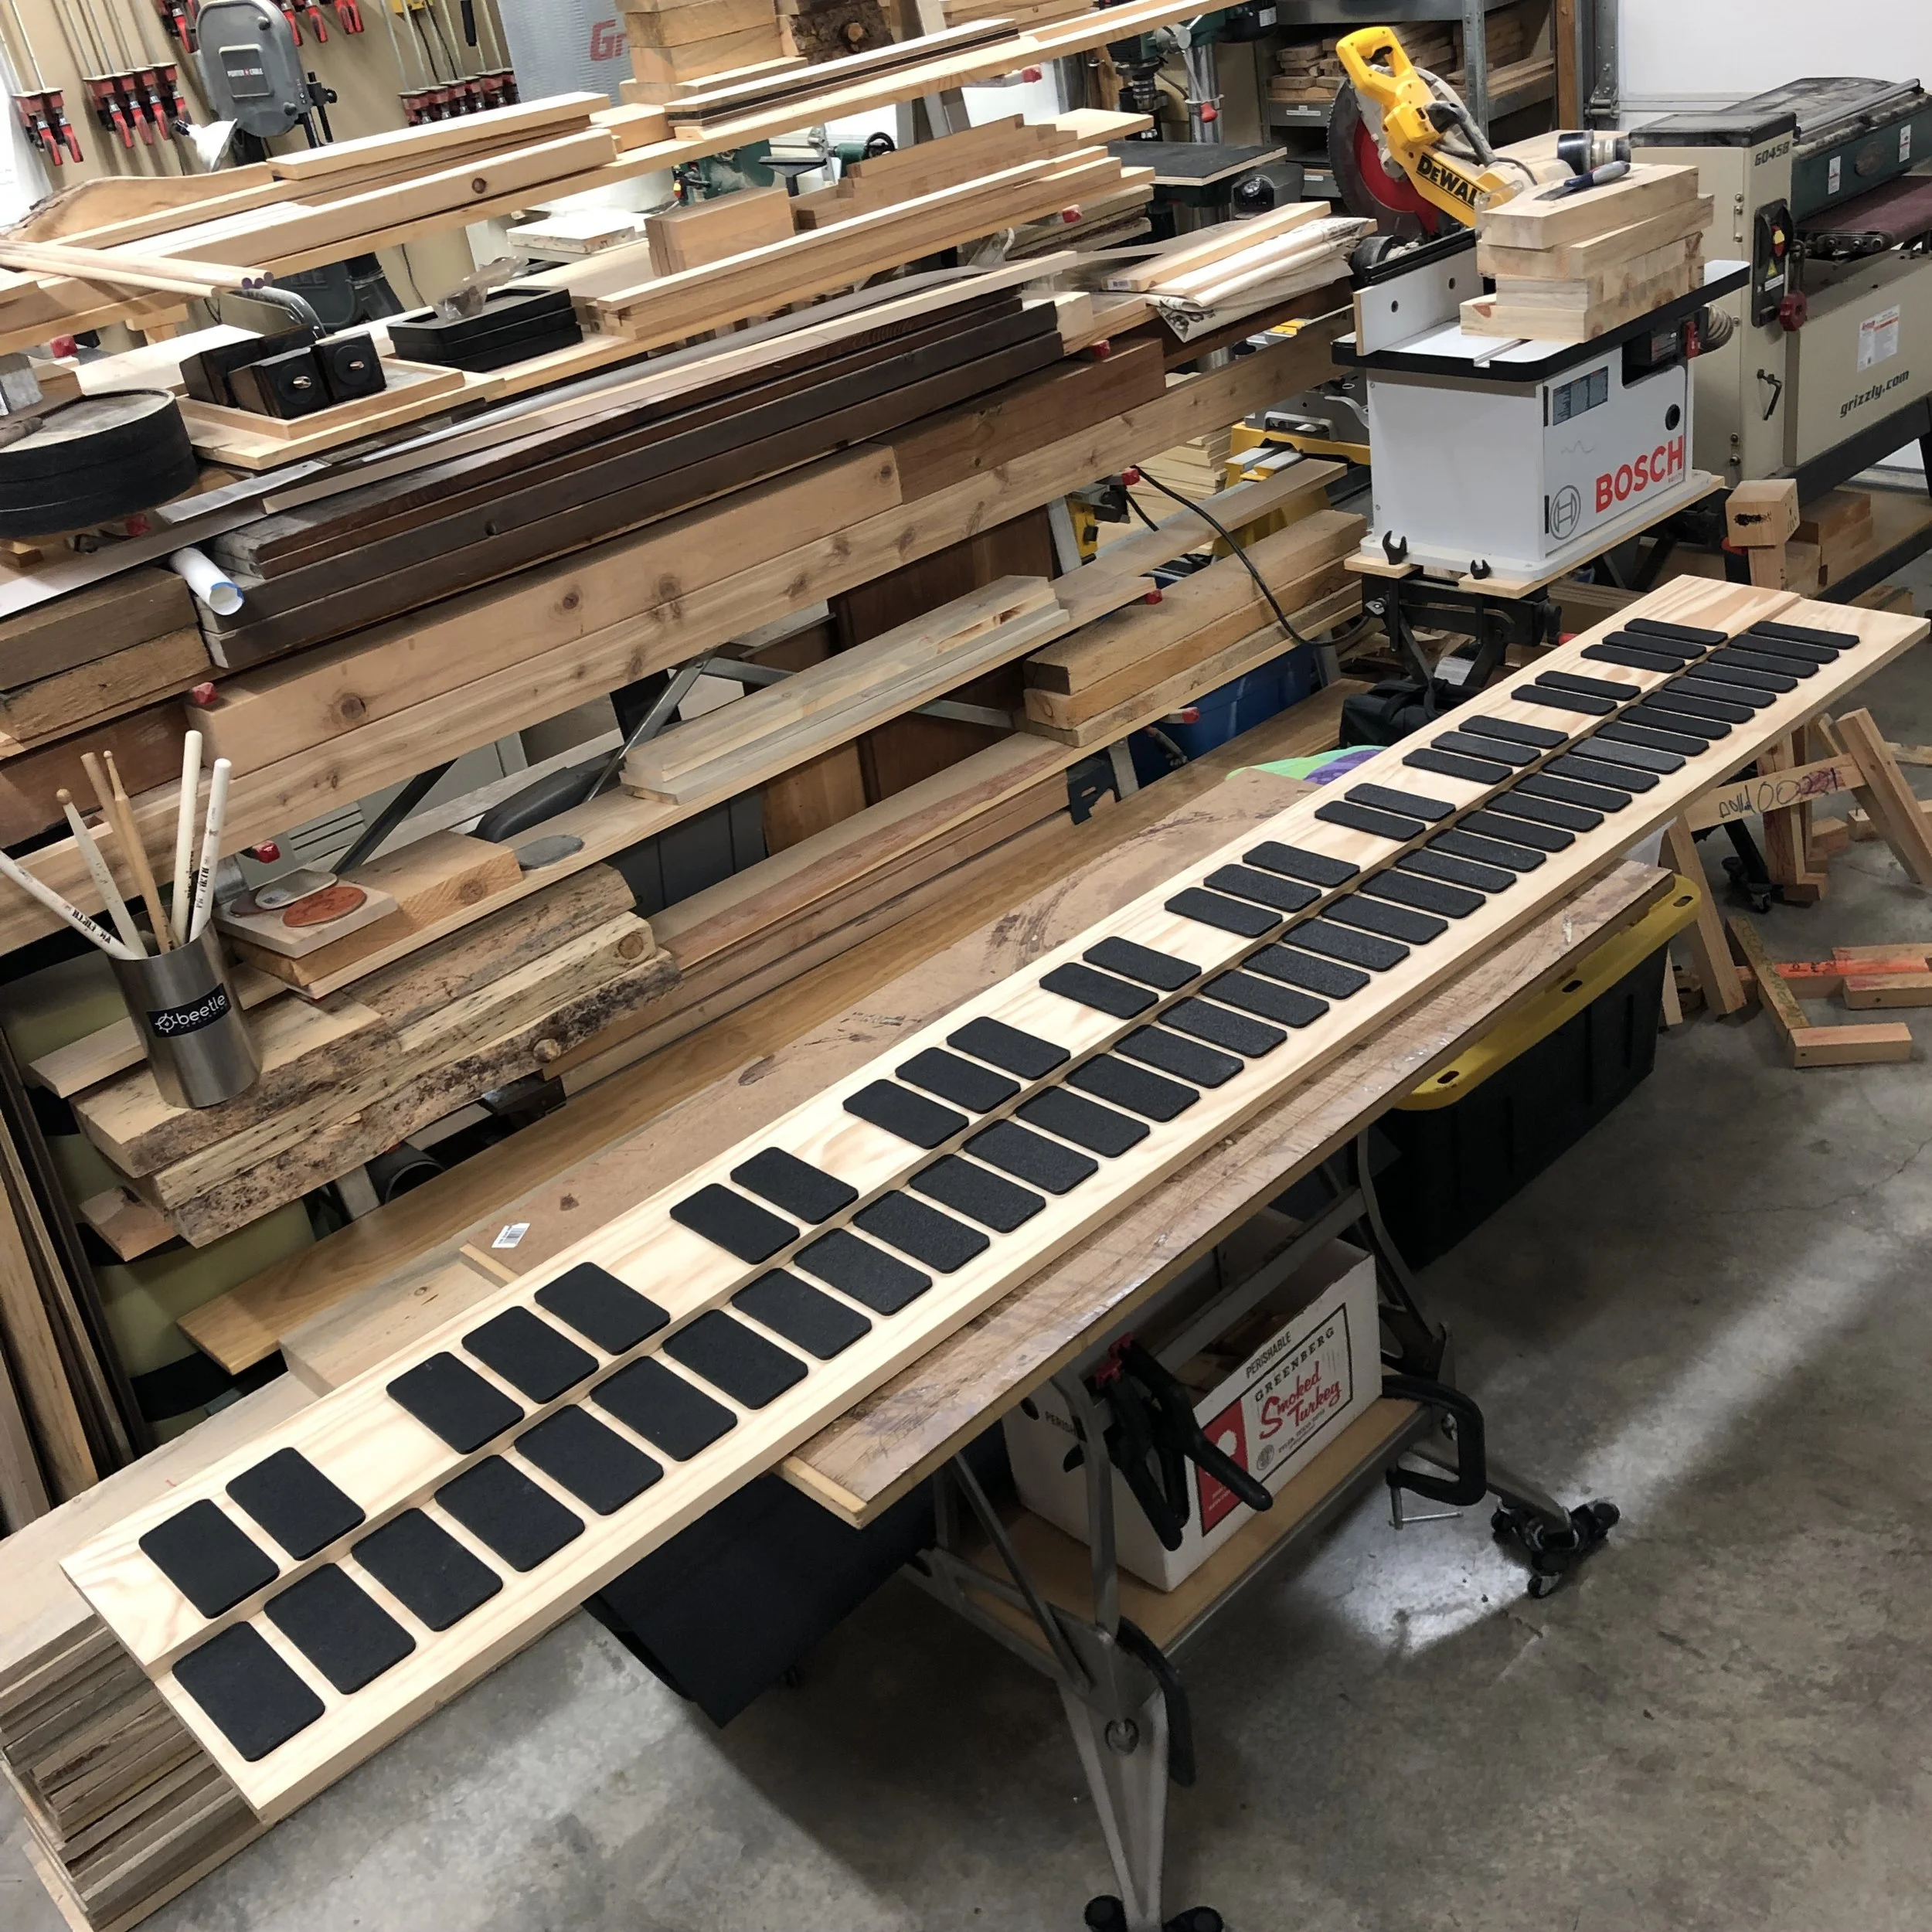 Image 17 of 23
 Image 18 of 23
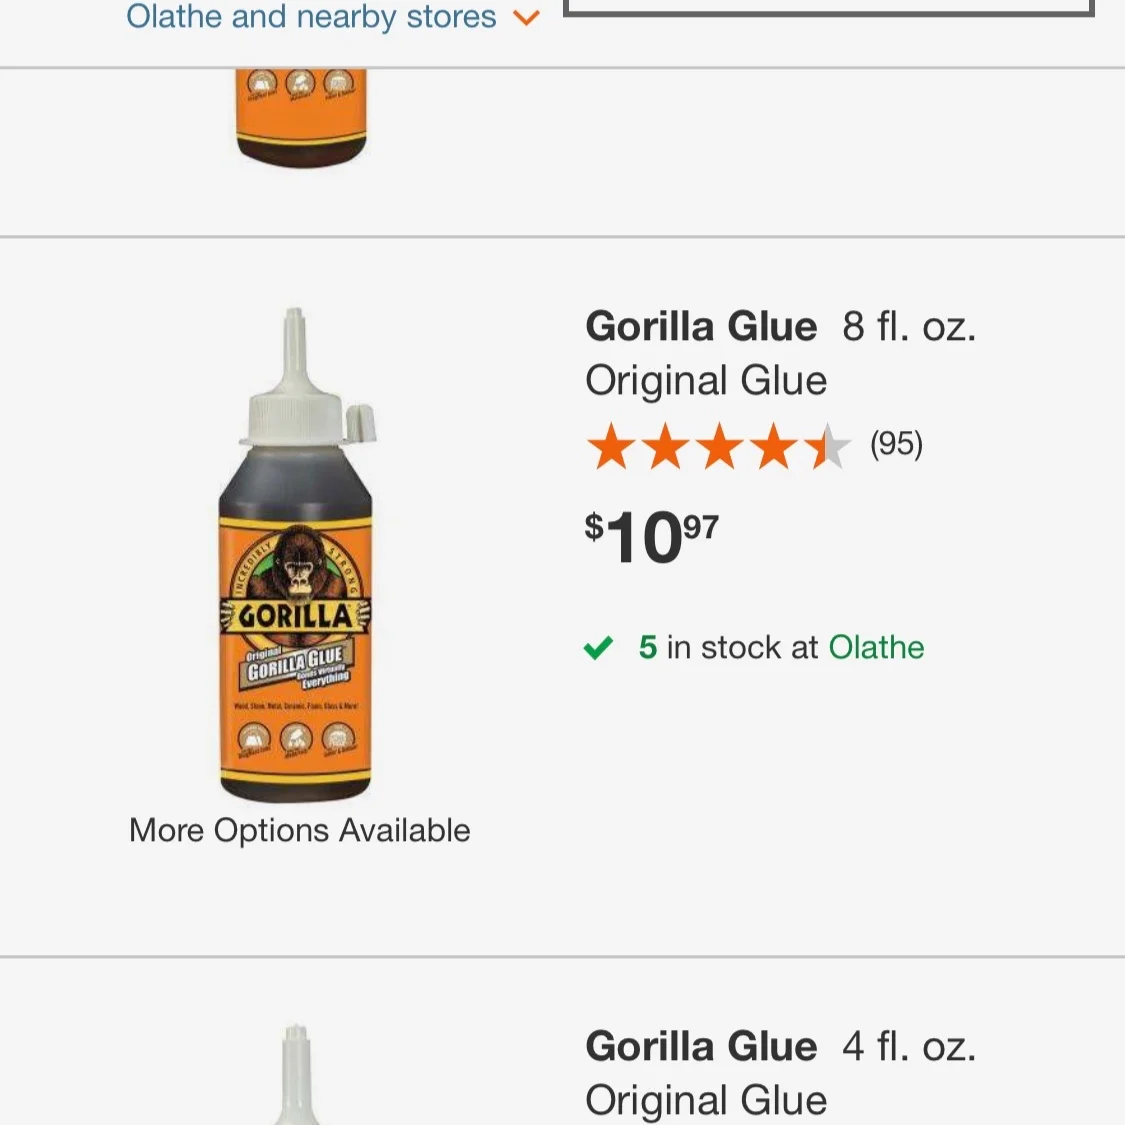 Image 19 of 23
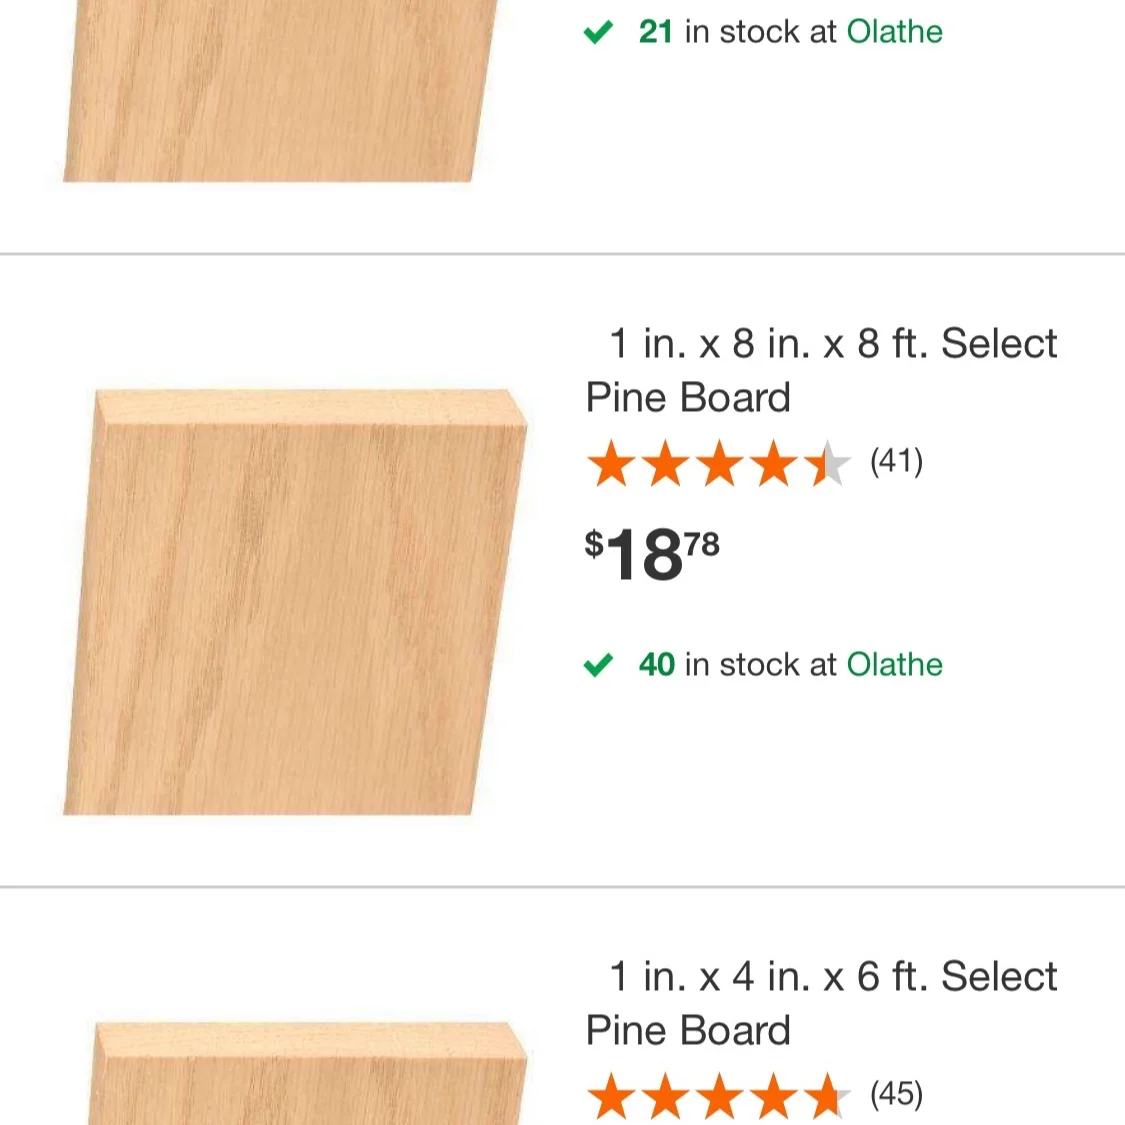 Image 20 of 23
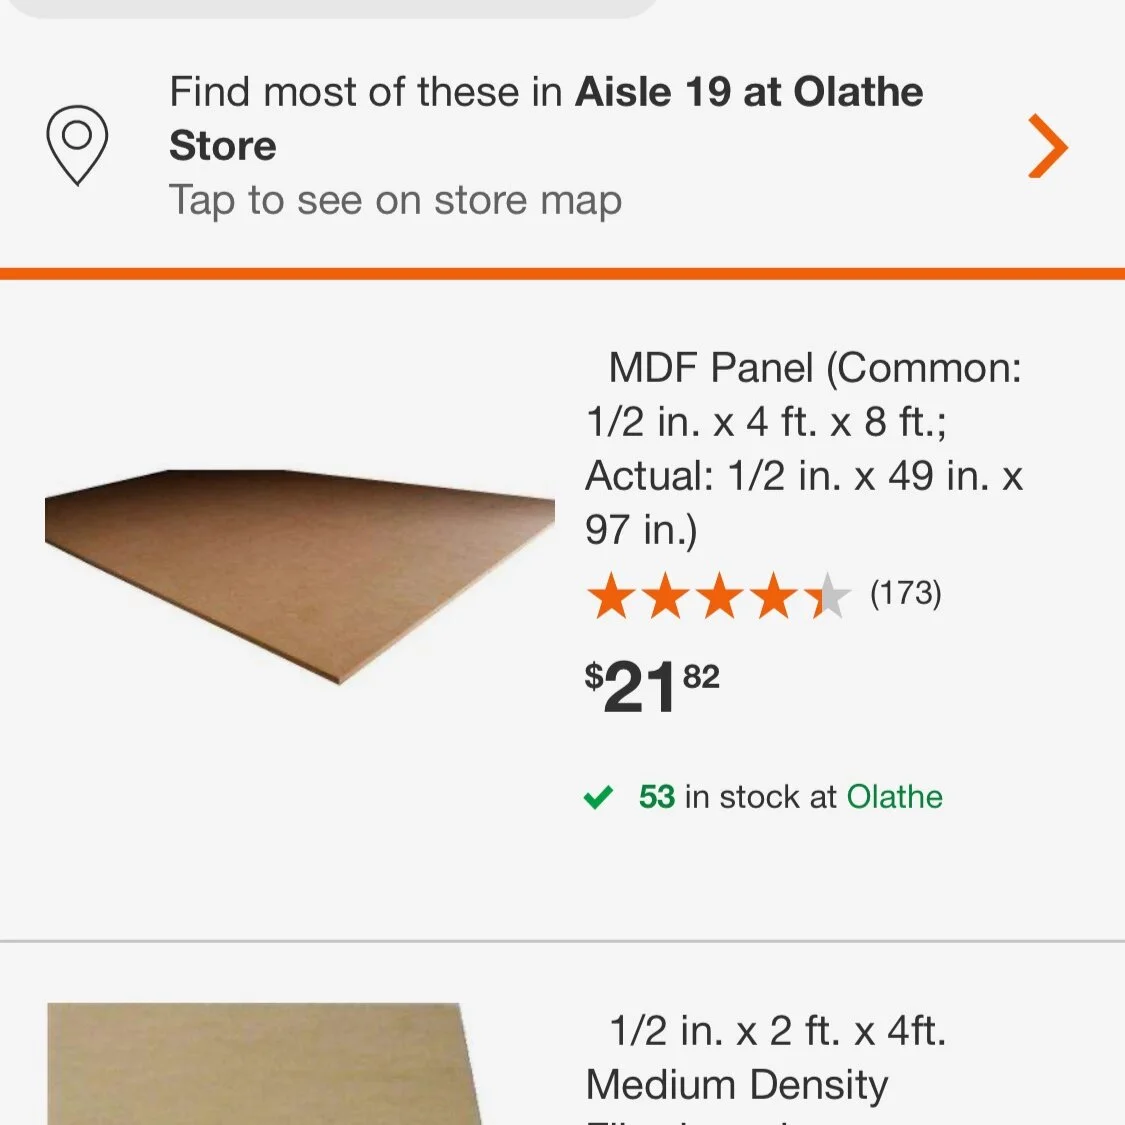 Image 21 of 23
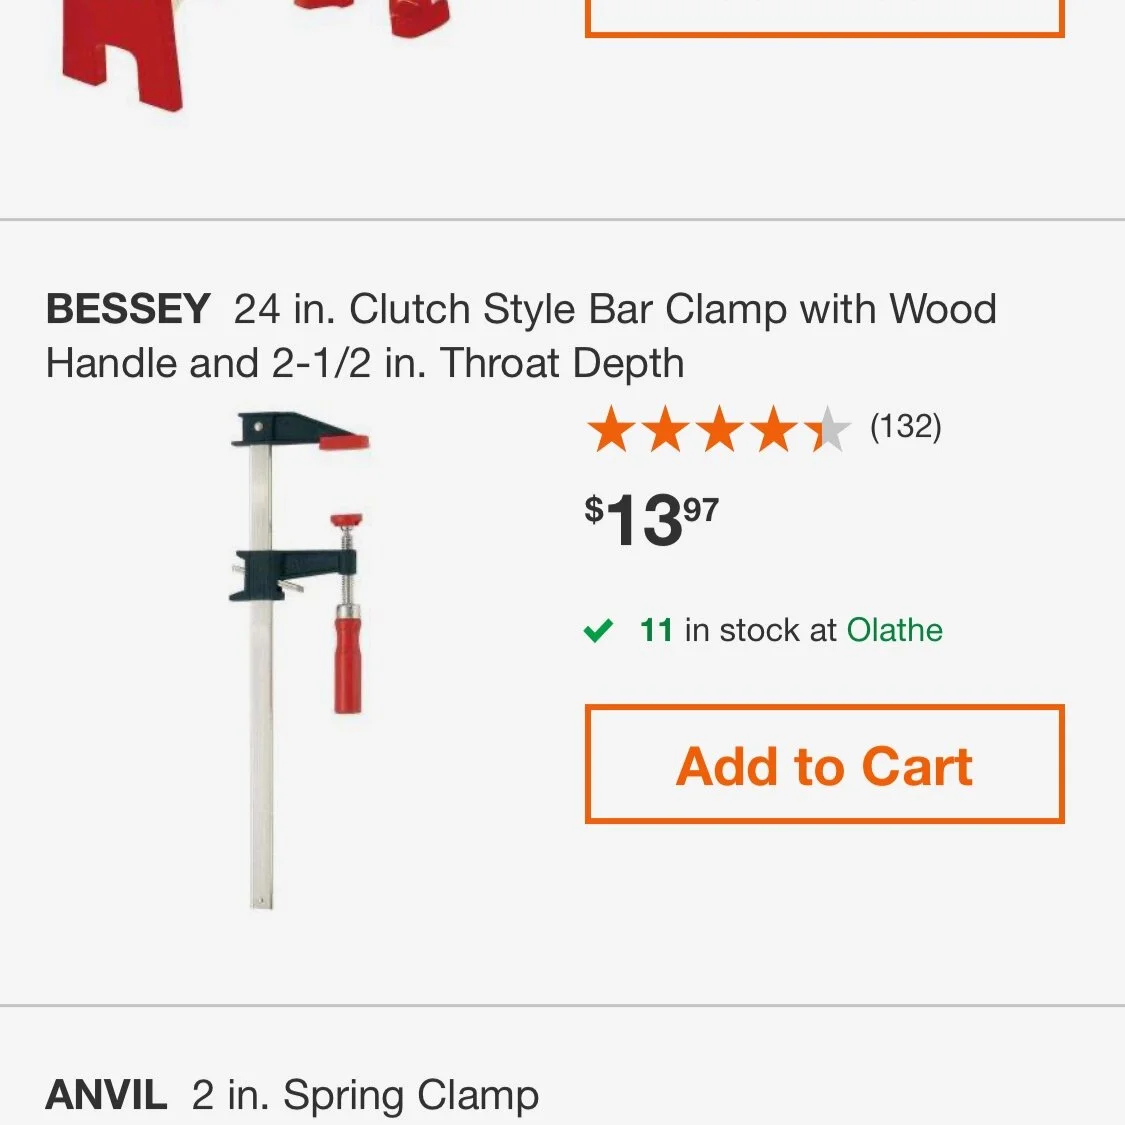 Image 22 of 23
 Image 23 of 23
Our DIY products were designed because many in the percussion community are skilled makers and enjoy making instruments. And to those that do not yet, we hope to inspire them to make percussion as well. Making things with your hands is a lost art, but as percussionists, we are already adept to this concept. Spend a weekend making you own custom percussion instrument or pad and discover the rewards of creating from nothing, something useful and personal that will last forever - made by you!
Instructions:
When selecting the solid wood for this project, you want to go through as many pieces as possible to get the flattest ones. Look down the board from all angles and even lay it on the floor, looking for bows and twisting. We mill the wood using a power joiner and planer to achieve flatness, but it is possible to find a relatively flat piece at the home store. Remember of course that all wood moves over time. We recommend using 3 1“x8”x8’ select pine for cost savings and it’s easy to acquire and readily cut and milled. You are of course welcome to use any wood base you wish: plywood, mdf, maple, hard board, etc. in what ever size configuration you want. When designing this pad, you are welcome to customize as much as you wish. You can do a modular system like we make with each octave being a separate piece, (these pad widths are as follows: Pad (octave) 1: 21”, Pad 2: 19 11/16”, Pad 3: 18 3/8”, Pad 4: 15 3/4”, Pad 5: 14 7/16”) or you can make it one solid piece, put a hinge in the middle, cut it in half, thirds, what ever you wish, the options are limitless!
Glue the wood together. Lay your boards out and spread wood glue evenly along one thin edge covering all the wood with your finger or brush or spreader. Then use clamps to connect the two 8” wide boards in to a 16” wide board. We recommend waiting ten minutes, then remove as much squeeze out as possible. Squeeze out is good and means that all surfaces are well covered. After a few hours you can remove the clamps and scrape and sand off the excess glue. Then glue the third 1”x8”x8’ board directly on top of the newly glued 16” board for the accidental bars. Spread the glue evenly and use a brush or scraper to spread the glue evenly along the whole surface of the board. Repeat clamping this on the the larger board and be careful to align it during calming pressure because they tend to slide around. You can use weight in stead of clamps for they process as well. Like before, wait 20 min and remove excess glue squeeze out with a rag or scraper. After a few hours you can un clamp and clean any excess glue and sand all surfaces clean and smooth.
Once you have your wood glued and cleaned up , begin with “breaking” or rounding or chamfering all of the edges. We use a 1/8”th round over bit and rout all edges, then sand them smooth. (We recommend using a dust mask for lung protection or sand out doors). Start with a lower grit and end with a higher grit to smooth and finish. Sand the entire piece of wood to the desired smoothness. Remove all of the dust from the board using a compressor or rag or towel dampened with mineral spirits. Here at Beetle, we use natural Danish Oil from Watco for all of our finishes. It protects a bit and darkens the color some. It can be repaired easily when damaged and is non toxic or harmful to the environment. You are welcome to use whatever product you wish. If you want to use a non-polyurethane stain or oil, now is the time. Let it dry for 24 hours. If you want to use paint or a polyurethane or other clear coat laquer product, you will wait until after the rubber pads are glued on, then apply the product around the pads. This is because the glue will stick to bare wood but not a painted or smooth surface nearly as well.
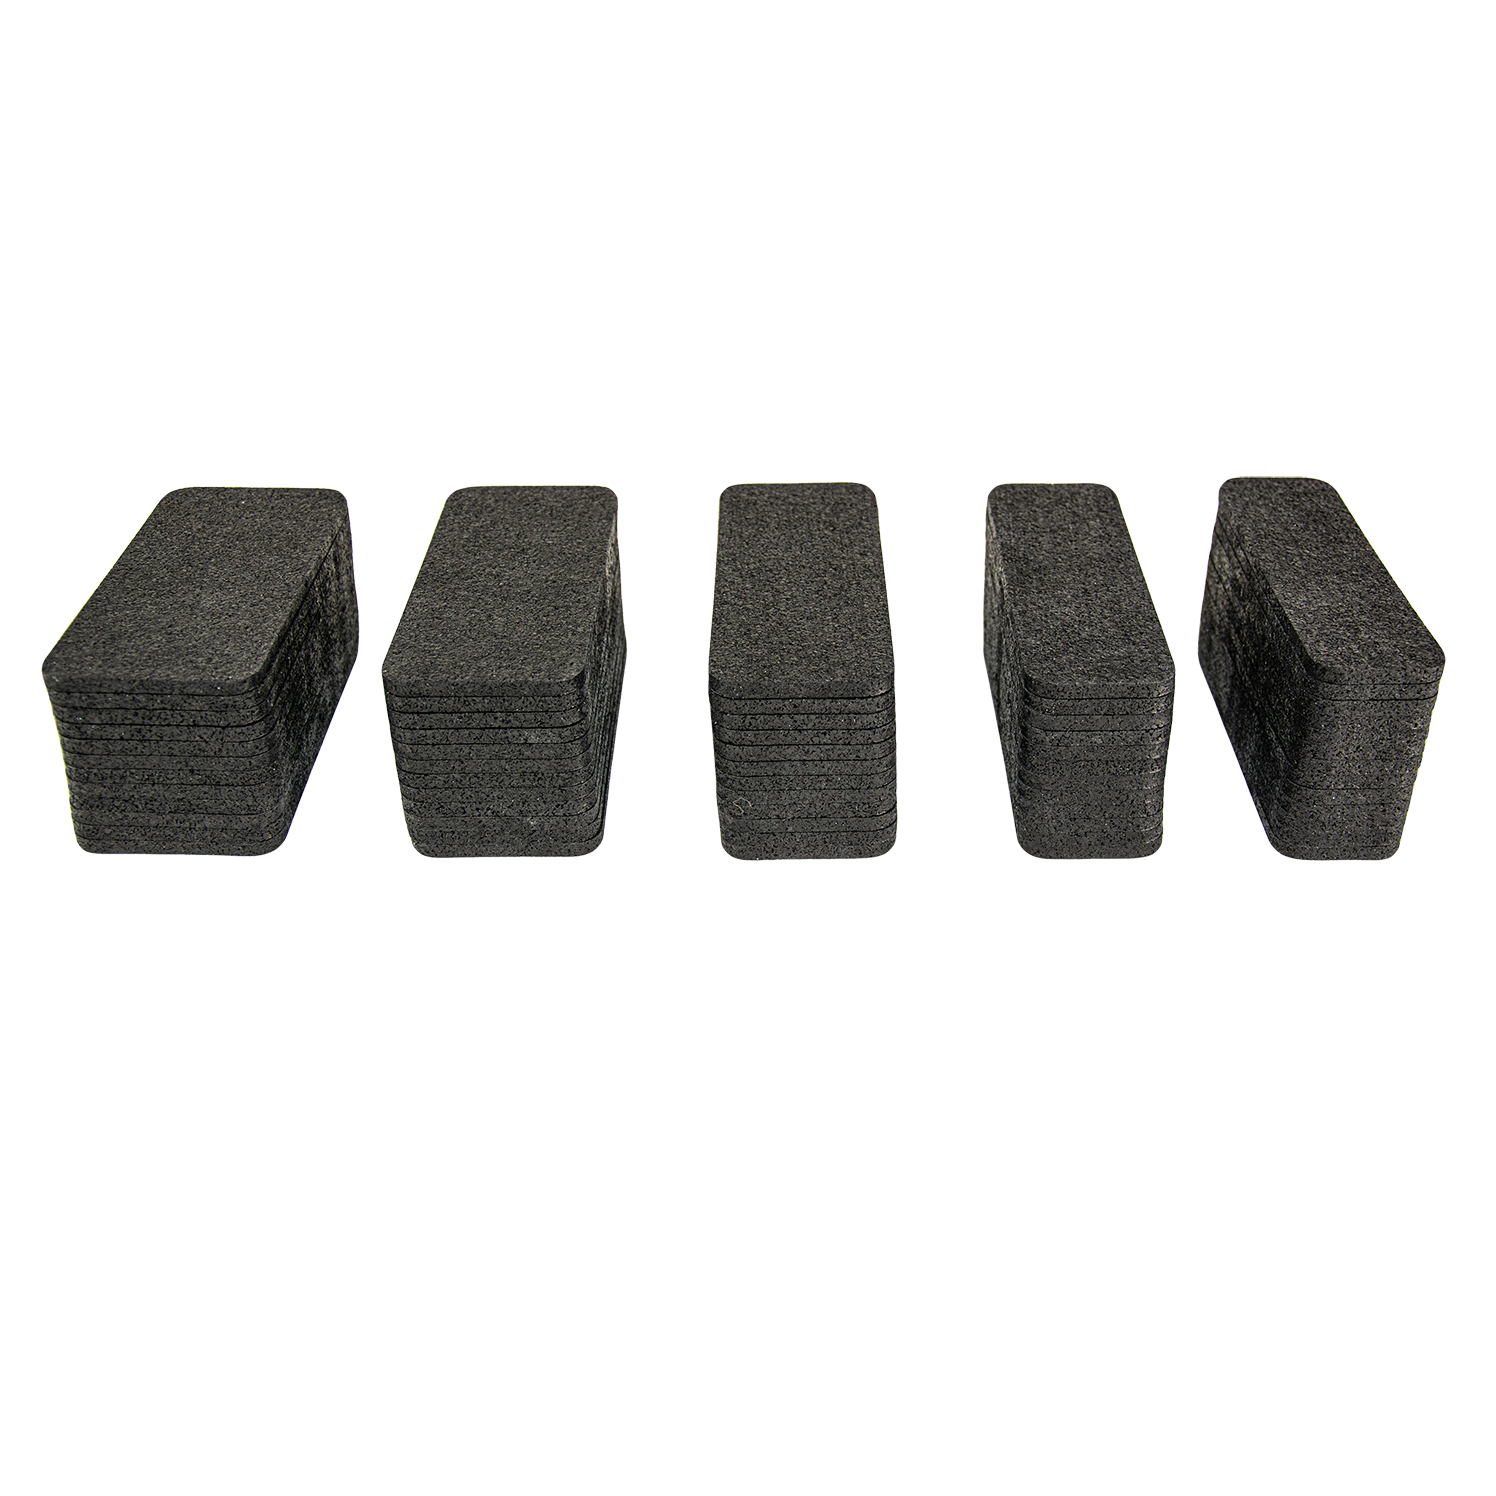
After the oiled wood has dried, it’s time to lay out the rubber pads on one side. Select 12 of the largest (octave one) 1/4” pads we shipped to you and lay them on the board on a flat surface. Included is a spacer that will help you spread out the pads evenly. Use the spacer on one end (1/2'“ as shown in pictures), then place a pad next to it. Boards can be longer or shorter than exactly 8 feet from the manufacturer so after laying them out, eye ball the pads and make adjustments, or cut off one end with a hand or miter saw. Then we recommend you lightly marking the placement of all seven pads (as shown in picture). Remove the pads and prepare to glue them on. You will only want to glue on as many pads as you have clamping pressure for - we recommend one octave at a time.
Ensure that you have laid the wood on a flat, level surface. Spread an even amount of Clear Gorilla Glue on one side of a rubber pad. We have included pictures above so you can see the amount and method. It doesn’t take much to evenly cover the pad so don’t be afraid to remove any excess that could help it slide when clamped. Then scrape with the putty knife about a 1/4” of glue off the pad edges of each pad and wipe excess on to a rag. (See pictures). We then use pliers to grab one side of a bar and a paper towel with the other hand and carefully place the pad on to your marked spot. The glue is very sticky and hard to get off so be careful. Repeat gluing pads on the wood for as many clamps as you have available. You can use a variety of things for a clamp. We use a piece of wood with thick foam on one side that is weighed down with a 15lb weight. You can use anything flat and larger than the size of the rubber and a towel and books for weights for example. You can place a 1/2 folded dish or hand towel on a line of glued pads and place three or four books larger than the rubber on top of the towel. You can also use a flat piece of wood on top of a few towels and weigh multiple pads at once. Just make sure you can apply even pressure - about 10 lbs per piece of rubber - over the rubber for 4-6 hours. Too much weight and they can slide so check them after 20 min and again after 45 min to make sure they don’t slide out of place. Also remove any squeeze out with a flat head screwdriver. If they do slide, perhaps use less weight.
After all of the rubber is glued on, you can custom paint your pad, if you did not choose to use a stain or oil. If you did use oil or just a stain and you dent or damage the wood, simply sand it down and reapply the oil or stain. This pad works best when supported by two snare stands or an x stand. Some teachers like to use two halves for greater mobility. Please get as creative as possible with this DIY pad and send us pictures of your process and completed work via social media.